
How to Do Your Own Termite Inspection Step by Step
Start with a flashlight, screwdriver, rubber mallet, and moisture meter. Walk your home’s exterior, looking for pencil‑thin mud tubes, wood touching soil, blistered paint, or warped boards. Inside, tap baseboards, door frames, and floors for hollow sounds, and watch for frass, tiny holes, or buckling surfaces. Check crawl spaces, basements, and the attic for mud tubes and damaged wood. Photograph and log every finding so you can judge whether DIY inspection and treatment make sense for you—and what to do next.
Key Takeaways
- Gather basic tools: bright flashlight, screwdriver, rubber mallet, and moisture meter to check wood, foundations, and damp areas.
- Inspect the exterior foundation and siding for mud tubes, wood-to-soil contact, blistered paint, warped wood, and hollow sounds when tapped.
- Check interior baseboards, door frames, floors, and ceilings for hollowness, buckling, pinholes, frass piles, and new mud spots on walls.
- Examine crawl spaces and attics, focusing on joists, beams, rafters, and areas near pipes or chimneys for mud tubes, frass, and hollow wood.
- Document findings with photos, notes, and a simple sketch map, and call a professional immediately if you find mud tubes or extensive damage.
Gather Your DIY Termite Inspection Tools

A thorough DIY termite inspection starts with assembling the right tools so you can see clearly, reach tight spaces, detect hidden moisture, and stay safe while you work.
Use a bright flashlight or headlamp to scan dark basements, crawlspaces, and concealed corners. Keep a flathead screwdriver handy to probe wood and test its integrity, and a rubber mallet to tap surfaces and listen for hollow areas or debris shifting inside. A telescoping mirror helps you see beneath appliances and into tight spots without moving heavy items. In areas like Massachusetts, which fall into a moderate to heavy termite activity zone, assembling these tools supports the kind of careful, yearly checks that professionals recommend.
Carry a clipboard and notepad to log locations, conditions, and anything suspicious. Add a moisture meter to find damp wood, wet soil, or condensation that can attract termites, and use it to check around plumbing, subfloors, and walls.
For advanced detection, consider infrared cameras, borescopes, acoustic or ultrasound tools, and methane detectors. Protect yourself with a bump cap, pads, respirator, gloves, and coveralls.
Inspect Your Home’s Exterior for Termite Signs
Start your exterior check by slowly walking your home’s perimeter and scanning the foundation for pencil-sized mud tubes or tiny mud patches. As you go, look closely for any wood that touches soil, including steps, posts, siding, or trim that sits too low. Finish by examining siding, trim, and decks for blistered paint, hollow-sounding boards, and any warped or damaged wood that could indicate hidden termite activity. Since mud tubes are a noticeable sign of termite infestation, call for a professional inspection as soon as you find them to prevent more serious structural damage.
Scan Foundation For Mud Tubes
Begin your exterior inspection by slowly walking the full perimeter of your home’s foundation, scanning for narrow, pencil-width mud tubes that climb up from the soil.
These tubes look like dirty, muddy strings or ridges, typically 1/4 to 1 inch in diameter, and may run straight up concrete or trace along cracks. Because these tubes are built to keep termites moist and hidden, finding them on exposed surfaces is a strong clue of a subterranean termite colony nearby.
Look closely at:
- Foundation walls and exterior concrete, especially where cracks, gaps, or plumbing penetrations break the surface.
- Sill plates, window sills, and structural junctions where additions meet the original house, as tubes often follow these lines.
- Hidden spots behind mulch, foam board, steps, and porch stoops where tubes can be shielded from view.
Note whether tubes are thin and brittle (often exploratory) or thicker and well-formed, which suggests regular termite traffic.
Check Wood-To-Soil Contact
While you’re circling the exterior, pay close attention to any place wood touches or nearly touches the soil, since these contact points act as direct highways for subterranean termites. Drywood termites, on the other hand, do not require soil contact, so visible mud tubes along the foundation are a stronger indicator of subterranean termite activity.
Look along the foundation for siding, posts, or trim that dip into the soil, and note any landscape timbers or wood fencing that physically connects ground to your house.
Check firewood stacks and mulch beds hugging the foundation; both can act as bridges from soil to structure.
Look for mud tubes, small mud dabs, soft or brittle wood, and bubbling or peeling paint near ground level.
Tap suspicious wood for hollow sounds.
Ideally, maintain a 6–8 inch gap between soil and wood, keep firewood raised and away from the house, and reduce damp soil near contact points.
Inspect Siding, Trim, And Decks
Next, give your siding, trim, and decks a focused once-over, since these exposed wood surfaces often hide the earliest visible signs of termites. Work methodically around the house, keeping your eyes and hands on the wood and junctions where structures meet walls. Maintaining clear zones around your foundation and keeping landscaping materials from directly touching siding can help reduce easy termite access to these areas.]
- Check siding: tap for hollow sounds, watch for bubbling or peeling paint, swollen or warped boards, and soft or crumbly spots. Look closely for tiny holes with frass that looks like sawdust.
- Inspect trim: tap window and door trim, sills, and baseboards. Note maze-like grooves, splintered edges, soft areas, or visible tunnels that crumble when pressed.
- Examine decks: focus on areas tied into the house. Tap boards, note warping or sagging, inspect gaps where decks meet walls, and look for mud tubes or frass along supports.
Inspect Interior Rooms for Termite Damage
As you move through each interior room, focus on subtle changes in wood, walls, and floors that hint at hidden termite activity. Gently tap baseboards, door frames, and exposed beams; hollow-sounding wood often means termites have eaten the inside, leaving only a thin surface.
Pay attention to buckling or spongy floors, blistered boards, and swollen ceilings that resemble water damage. Stuck doors or windows can signal warped frames from internal galleries.
Scan walls and ceilings for thin mud tubes or BB-sized dried mud spots. Scrape these to see if they hide pinholes, then monitor for new mud or patch them.
Look for frass—tiny piles of sawdust-like or coffee-ground pellets—under furniture and windowsills, and note any piles of discarded wings near light sources.
At night, listen for faint clicking or rustling in walls, and check drywall or paneling for peeling, discoloration, or maze-like tunnels.
Check Crawl Spaces and Basements for Termites
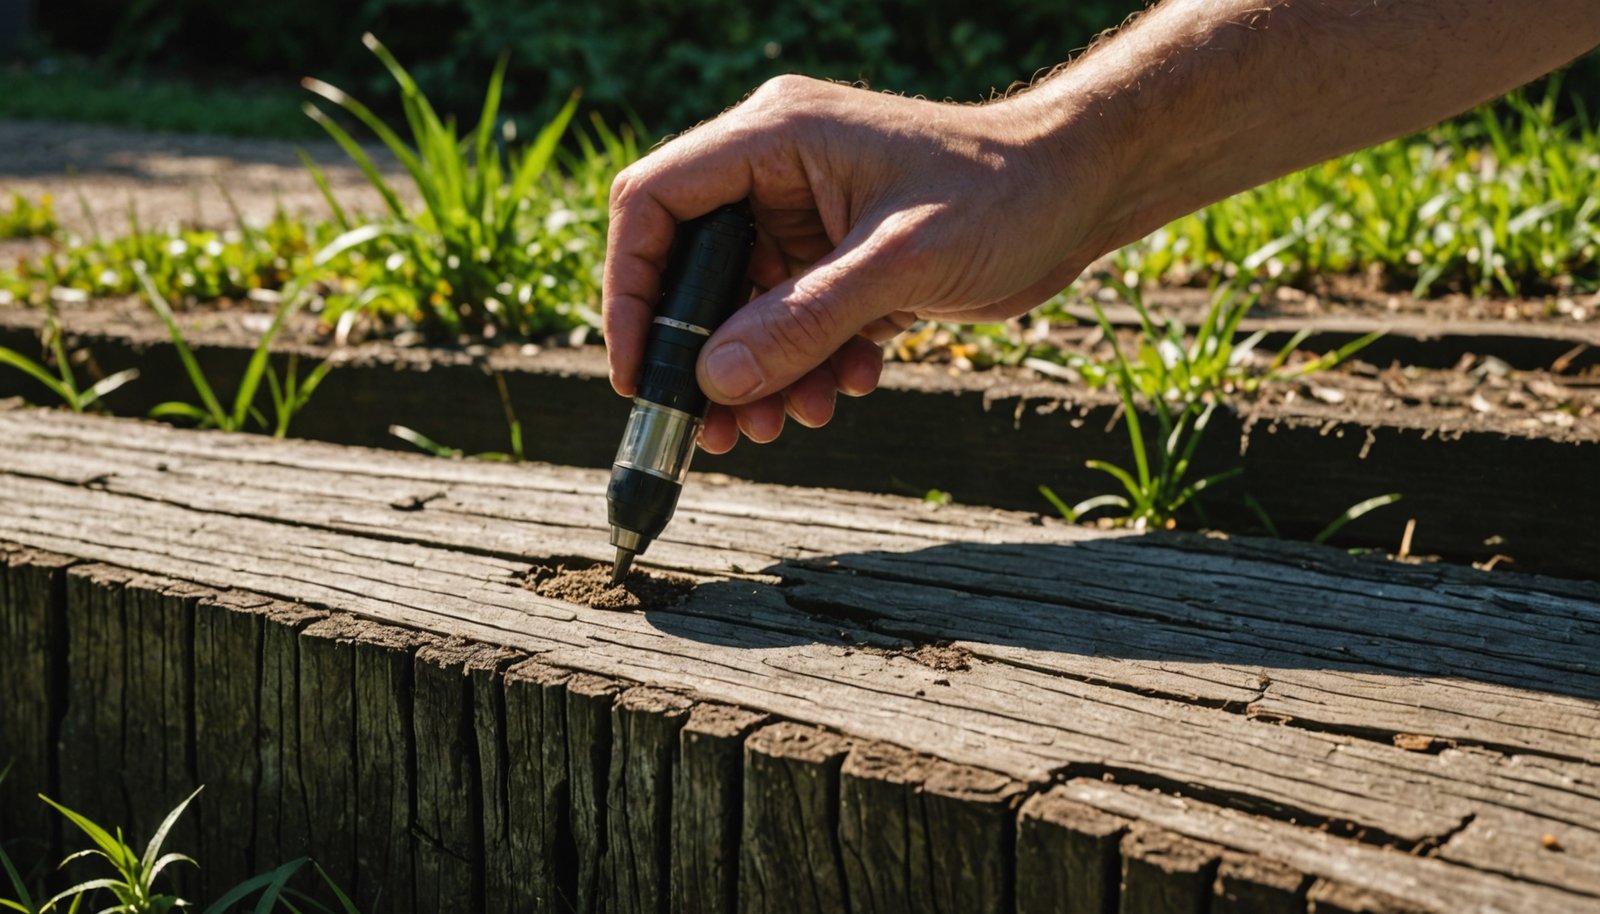
Two of the most revealing places to spot termite activity are your crawl space and basement, where wood, soil, and moisture meet. Start by scanning foundation walls, piers, and areas around vents and pipes for pencil-width mud tubes, often 1/4–1 inch wide. Gently probe them with a screwdriver; if you expose live termites or frass, you’re looking at an active infestation.
- Tap exposed joists, beams, and sill plates. Hollow sounds or wood that crumbles easily suggest internal feeding. Mark suspect spots with tape, photograph them, and note any sagging floors above.
- Look for frass that resembles tiny piles of sawdust or sand on crawl space floors or ledges. Collect a small sample in a sealed plastic bag for professional identification.
- Check around basement windows and crawl space vents for discarded, oval, transparent wings or dead swarmers, especially after spring rains.
Inspect Your Attic for Termite Activity
After checking crawl spaces and the basement, turn your attention upward to the attic, where hidden termite activity can quietly spread through roof framing and upper walls.
Start by scanning rafters and joists for thin, dirt-colored mud tubes. Focus on areas near pipes, chimneys, and where framing meets walls. Break a 1-inch section of any tube you find; if it’s rebuilt within a few days, you’re dealing with active termites. Tubes high on interior walls or ceilings can indicate Formosan termites.
Next, tap exposed wood; hollow sounds suggest internal galleries. Look for long, parallel grooves, maze-like patterns, mud-speckled cavities, or sagging beams.
Check around windows, vents, and lights for piles of transparent, discarded wings—especially after spring. Look for tiny exit holes with sand-like frass beneath; scrape suspicious “spots” to see if pinholes appear.
Finally, note any leaks, damp insulation, bubbling paint, or clogged gutters feeding moisture into attic wood.
Record Your Termite Inspection Like a Pro
Once you start spotting possible termite activity, you’ll want to create a simple inspection log so you can track what you find and where you find it.
Use it to note dates, locations, moisture readings, and what each area looks or sounds like when you tap or probe it.
Then photograph and map any damage or signs you see, linking each image to a specific spot in your log for easy reference later.
Create a Simple Inspection Log
A simple inspection log turns your DIY termite check into a clear, professional-style record you can rely on later.
Build yours on one sheet (paper or digital) so you can reuse it every time.
1. Start with inspector and client info: your name, phone, date, and time; any license or training; company details; client name and contact.
Add an ID or job number so you can track multiple inspections.
2. Add property and area details: address, building type, city, state, zip, and notes on surrounding properties, structural condition, and landscaping.
List each area you’ll inspect: interior, exterior, basement, crawlspace, garage.
3. Create clear spaces for findings, recommendations, and sign‑off: evidence found, other pests or issues, treatment suggestions, executive summary, plus client and inspector signatures.
Photograph and Map Damage
Treating your inspection like a photo project turns scattered clues into solid proof you can act on later.
Use clear, close-up shots of mud tubes on foundations, joists, and beams, plus hollow-sounding or crumbling wood, indentations, and maze patterns. Photograph swarmers, discarded wings, frass piles, and tunneling in rotted wood, then caption each image with what you see and where you found it.
Map this damage on a simple sketch of your property. Mark exact locations of live termites, droppings, bubbling paint, pin-holes, and sticking doors. Note thermal imaging hot or cool spots in walls and panels.
Finally, organize photos by area—attic, basement, crawl space, exterior—and export everything into a dated folder or inspection report.
Is DIY Termite Inspection Right for You?
Before you commit to a DIY termite inspection, you need to weigh what’s actually at stake: termites are easy to misidentify, their colonies hide deep in wood and soil, and consumer products rarely wipe them out completely.
If you confuse termites with ants, miss subtle mud tubes or frass, or treat only the visible damage, the main colony keeps feeding out of sight.
Ask yourself if you’re ready to:
- Learn to distinguish termite species, recognize discarded wings and shelter tubes, and understand how colonies spread beyond what you see.
- Accept that consumer treatments often reach only surface layers, may fail up to 16.7% of the time, and rarely provide long‑term protection without repeated monitoring.
- Take on the risks: handling hazardous products, possibly letting an infestation worsen, and spending time and money on efforts that may still require professional follow‑up.
DIY inspection can help in low‑risk, early, or preventive situations—if you’re thorough and realistic.
Treat Termites Yourself or Call a Pro?
Once you’ve decided DIY inspection is on the table, the next question is whether you should also handle treatment or bring in a licensed pro. You can buy foams and sprays, but they usually only hit visible galleries, not hidden colonies in walls or foundations. Misapplied soil treatments rarely form the continuous barrier termites demand.
| DIY Treatment | Professional Treatment |
|---|---|
| Lower upfront cost | Average $620 per treatment |
| Limited to surface infestations | Detects hidden colonies and species |
| No warranty or bond | Warranties and termite bonds available |
| High risk of incomplete control | Proper equipment and methods |
Pros use species identification, understand your foundation type, and choose methods like bait stations (about $7–$12 per linear foot) or full-structure options. Annual plans from big companies typically run $400–$1,600, but that’s minor compared to $40,000–$50,000 in potential repair bills. If you confirm activity—or aren’t sure what you’re seeing—professional treatment’s usually the safer financial bet.
Conclusion
Now that you know how to inspect your home step by step, you’re ready to spot termite trouble before it explodes into major damage. Use your tools, follow the process, and record what you see so you don’t miss patterns over time. If you spot suspicious signs or feel unsure, don’t wait—bring in a licensed pro. Combine regular DIY inspections with professional help when needed, and you’ll protect your home with confidence.