
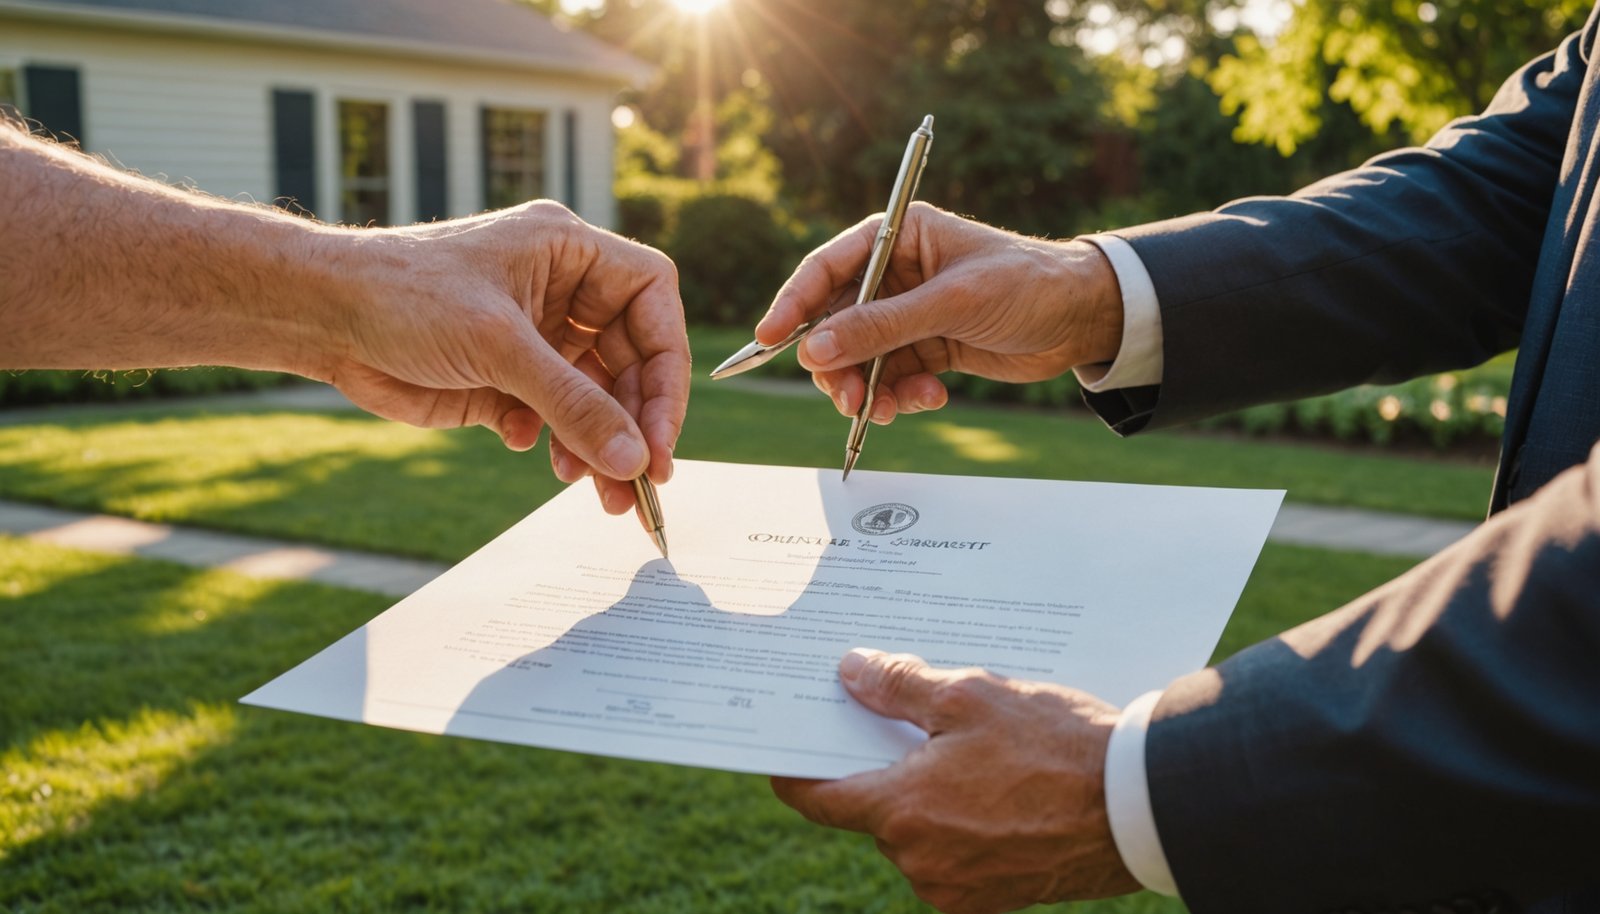
How to Transfer a Termite Bond to a New Homeowner
You transfer a termite bond by first confirming exactly what it covers (retreatment vs repair) and checking the contract to see if it’s transferable and in good standing. Verify there are no lapses, then collect the bond, renewals, inspection, and treatment records from the seller. Contact the pest control company before closing to document the ownership change and get written confirmation. If you’re using VA/FHA financing, you’ll also need specific forms and steps that are easy to handle once you know how.
Key Takeaways
- Verify the bond is transferable by checking the contract for assignment terms, required written notice, and any transfer or renewal fees.
- Confirm the current status of the bond, including expiration, lapse history, inspection schedule, and whether coverage is retreat-only or includes damage repair.
- Gather all documentation—original bond, renewals, inspection reports, and treatments—and provide it to the buyer and closing agent.
- Contact the pest control company before closing to record the ownership change, update contact information, and obtain written confirmation of the bond transfer.
- For VA/FHA loans, ensure required termite inspection forms are completed, active infestations resolved, and post-closing bond transfer documents stored with real estate records.
Confirm What Your Termite Bond Transfer Covers

Before you agree to transfer a termite bond, pin down exactly what the coverage includes—retreatment only, or retreatment plus damage repair.
Read the contract and confirm it spells out retreatment duties, inspection frequency, and any repair provisions. Make sure it clearly states that yearly inspections of visible and accessible areas are included after transfer. In Florida, remember that new homes are typically required to have a five‑year termite bond, so verify how that original obligation affects your transfer terms.
Verify whether the bond will pay for termite damage that occurs after treatment, and that it excludes pre‑existing damage so you’re not surprised by a denied claim.
Check the expiration date, renewal requirements, and any limits or exclusions that apply once the new owner takes over.
Ask the provider for examples of denied claims so you understand how they interpret “covered damage.”
Finally, confirm that the bond is explicitly transferable to a new owner and that any transfer fees, name‑change charges, or paperwork requirements appear in writing before closing.
Know Repair vs Retreat Termite Bonds First

When you’re deciding whether to transfer a termite bond, start by understanding the difference between retreat‑only coverage and a repair bond. Most bonds are retreat‑only, meaning the company inspects and treats again if termites return, but it doesn’t pay for fixing any damage. [In Georgia’s climate, where termites are active nearly year‑round, having ongoing protection through a termite bond or warranty is especially important].
Before transferring a termite bond, know if it’s retreat‑only or includes repair coverage for future damage
You get regular inspections and free follow‑up treatments, but you’re on the hook for repair costs.
A repair bond adds damage coverage on top of retreatment. If termites cause new structural damage after treatment, the provider covers repairs up to a limit, often between $25,000 and $1,000,000.
You’ll usually pay more, but you shift major financial risk to the company.
Here’s how to think about both:
- Retreat‑only: lowest upfront cost, no repair money.
- Repair: higher price, strong financial protection.
- Retreat‑only: best for lower‑risk structures and budgets.
- Repair: best for maximizing protection and resale confidence.
Check If Your Termite Bond Is Transferable
Start by pulling out your actual termite bond contract and confirming in writing that it can move to a new owner. Continuous coverage is often required for the bond to remain valid through the sale, so make sure there have been no lapses in renewal or inspections.]
Look for explicit language stating the bond is “transferable” or that the “guarantee runs with the property.”
Note any deadlines or fees for completing the transfer and any conditions you must meet for it to stay valid.
Next, review the exclusion clauses carefully.
Many bonds won’t transfer if you’ve made major structural changes, blocked inspection access, or greatly altered landscaping.
Above‑ground infestations without soil contact and pre‑treatment damage are also commonly excluded.
Then, identify which bond type you have.
Builder-issued bonds on new homes are often designed to transfer to buyers.
Retreat‑only bonds typically transfer the right to future treatments, but not repair costs.
Retreat‑and‑repair or broader prevention‑treatment‑repair bonds may transfer more value, but only if the contract clearly allows buyer handover.
Confirm Termite Bond Status and Fine-Print Limits
Before you move ahead with the transfer, you need to confirm that the termite bond is still active and hasn’t lapsed. Termite bonds are commonly required in real estate deals, especially for VA or FHA loans, so confirming its status early can prevent loan or closing delays.
Next, review the contract to see exactly under what conditions the bond can transfer to a new owner. As you read the fine print, flag any restrictions, fees, or gaps in coverage that could limit or complicate the transfer.
Verify Active Bond Status
Although a termite bond can sound like a simple “set it and forget it” protection plan, you need to verify that the bond is actually active and understand its limits before you rely on it or transfer it. In many states, the underlying inspection must be performed by a licensed WDO inspector using a state‑approved form to satisfy lender or regulatory expectations.
Start by confirming the company and inspector are properly licensed and insured in your state, then dig into the paperwork.
- Confirm licensing and insurance – Check your state’s database and ascertain required termite/wood-destroying organism certifications and errors-and-omissions coverage.
- Check renewal status – Verify the one-year term, renewal dates, any lapses, and required annual inspections.
- Identify coverage type – Determine whether it’s retreat-only or retreat-and-repair and the maximum dollar limit.
- Review inspection reports – Confirm a recent, state-approved wood-destroying insect report documents current activity and conducive conditions.
Identify Transferability Conditions
Once you’ve confirmed the bond is active, you still need to pin down exactly if and how it can follow the house to a new owner. Start with the contract’s transfer clause. It should spell out whether the bond automatically follows the property, what it costs to transfer, and how often inspections must occur.
Next, confirm that coverage history meets the provider’s standards. Many companies only allow transfer if renewals were continuous and treatments were done as scheduled, often verified with WDIR reports and proof of original treatment.
Finally, read the fine print on exclusions and limits. Look for structural-change rules, any carve‑outs for hidden pre‑existing damage, dollar caps on repairs, and renewal requirements that must be met for transfer to stay valid.
Flag Restrictions And Lapses
Even when a termite bond looks active on paper, you still need to dig into its restrictions and any signs of lapse so you’re not relying on protection that’s already gone.
Start by confirming whether you’ve got a retreat-only bond or retreat-and-repair coverage, and exactly how much the repair limit is. Then look for hidden exclusions, gaps in renewals, and state-specific requirements that can quietly shut the bond down.
- Coverage type: Verify retreat-only vs retreat-and-repair, repair caps, and exclusions for pre-existing or hidden damage.
- Lapse history: Check renewal dates, inspection reports, and any coverage gaps requiring new treatment.
- Inspection limits: Confirm what areas were inspected and whether access or moisture issues were flagged.
- Regulatory forms: Review FHA, HUD, and state termite forms to confirm compliance.
Collect Termite Bond And Treatment Paperwork From The Seller
Before you can transfer a termite bond, you need to gather every document that proves what coverage exists, what work’s been done, and whether the bond can legally follow the property to you.
Ask the seller for the original termite bond contract and all renewal records so you can see the coverage type, term dates, and any gaps.
Get copies of every inspection report, noting which areas were checked and what issues—like moisture or wood contact—were corrected.
Request complete treatment records: initial and follow‑up applications, chemicals used, and application methods, plus any soil termiticide forms such as HUD‑NPMA‑99‑B for newer homes.
For new construction, collect builder guarantees and HUD‑NPMA‑99‑A or similar documents.
Confirm the bond’s transferability clause in writing and whether any fees apply.
Finally, obtain Wood Destroying Insect Reports, state‑required disclosures, clearance letters, and any lender‑required termite letters so you can show continuous, compliant coverage.
Document The Ownership Change In Writing
Once you’ve gathered the termite paperwork, you need to document the ownership change in writing to keep the bond valid.
You’ll prepare clear written transfer documentation, notify the pest control provider during closing, and confirm they’ve updated their records to list you as the new bond holder.
At the same time, you’ll preserve all bond paperwork so you can prove coverage, terms, and any transfer fees later.
Written Transfer Documentation
Although a termite bond can transfer with the property, the ownership change isn’t official until it’s documented in writing with the licensed pest control company.
You need clear, written proof of what’s covered, what’s excluded, and whether the bond’s still active so you’re not surprised by termite damage later.
Ask the company for a thorough termite letter that summarizes prior inspections, treatments, and any infestations already addressed.
This written record supports risk evaluation, resale value, and loan approval, especially for FHA or VA financing.
Make sure your written transfer documentation includes:
- Bond status (active, renewal date, and any lapse).
- Coverage type: retreat‑only or retreat‑plus‑repair and dollar limits.
- Past inspections, treatments, and corrective repairs.
- Any transfer fee and terms confirming the bond runs with the property.
Notify Pest Control Provider
Notify your pest control provider in writing as soon as the property changes hands so the termite bond doesn’t quietly lapse. Most companies require formal notice of an ownership change before they’ll process a transfer, and they expect it at or immediately after closing to keep coverage continuous.
Send a dated letter or email that clearly states the effective date of transfer, the property address, and your full contact information.
Attach copies of your closing statement or recorded deed so the provider can verify you as the new owner and update its records.
If you delay notice, the company may treat coverage as lapsed, void transferability clauses, and require a full new treatment—often at a much higher cost than a routine transfer.
Preserve Bond Paperwork
After you alert the pest control company about the change in ownership, you also need a clear paper trail that proves the bond’s history and current status. Gather every document that shows what’s been done, what’s covered, and who’s responsible now.
- Retain key records – Keep the original treatment report, warranty or bond agreement, annual inspection letters, renewal receipts, and any contracts outlining terms and conditions.
- Document the ownership change – Prepare a written notice or letter that states the transfer, summarizes past treatments, inspections, and any resolved infestations.
- Review coverage terms – Confirm transferability, coverage type (retreat-only or retreat-and-repair), active status, and any state-specific disclosure rules.
- Support the real estate transaction – Provide these records for VA/FHA loans, closing requirements, and to protect the buyer financially.
Work With The Pest Control Company To Complete The Transfer
One of the most important steps in transferring a termite bond is coordinating directly with the pest control company so the coverage moves cleanly from you to the buyer.
Contact the company as soon as you list the property. Share your current contract, including term, renewal status, and any recent correspondence. Ask them to confirm in writing that the bond’s transferable and tied to the property, not just to you.
Review the expiration date, continuous coverage history, and any exclusions that could block transfer, such as unapproved structural changes.
Provide proof of original treatment, recent inspection reports, and renewal payment receipts. Request the company’s transfer agreement and termite letter and make sure everyone signs before closing.
Next, give the company the buyer’s information, coordinate a joint inspection, and clarify any transfer or prorated renewal fees.
Finally, confirm the updated bond certificate, scheduled inspections, and new owner responsibilities.
Handle VA/FHA Termite Bond Requirements
As you work with the pest control company to transfer the bond, you also need to meet any VA or FHA termite requirements tied to the buyer’s loan. These loans often require a fresh inspection even if you already have a bond in place, especially in high‑risk termite areas.
To keep the sale on track, coordinate closely with the lender, appraiser, and pest control company:
- Confirm if an inspection’s required. Ask the lender whether VA/FHA rules or local codes trigger a termite inspection for your property’s location.
- Use the correct forms. For VA loans, arrange an NPMA‑33 from a licensed inspector; FHA may also require HUD NPMA‑99A or related documentation.
- Address any active issues. If termites or damage appear, complete treatment and structural repairs before closing and get a clean reinspection.
- Watch timing and costs. Inspections usually expire in 90 days, and buyers often can’t be charged for VA inspections in many states.
Take Post-Closing Steps For Your Termite Bond Coverage
Once the sale closes, you’re not done with the termite bond until you’ve made certain the coverage smoothly follows the new owner.
Start by updating the pest control company’s records so the buyer becomes the primary contact. Provide written authorization and full contact details—name, mailing address, phone, and email—so they receive renewal notices, inspection reminders, and coverage updates directly.
Handle this quickly to avoid missed renewals and unwanted coverage gaps.
Next, obtain written confirmation from the provider that the bond has transferred, including exact language that the warranty moves with the property and any conditions that keep it valid.
Verify documentation explains whether transfer was automatic at closing or required extra paperwork. Ask for a copy of the transfer confirmation and confirm your closing statement reflects the bond transfer.
Keep copies with your real estate records to protect both sides if questions arise later about coverage or terms.
Avoid Costly Termite Bond Mistakes During And After Transfer
When you transfer a termite bond, you need to confirm exactly how and when it transfers so you don’t lose coverage or pay for a new treatment.
You’ll also want to keep every inspection report, renewal notice, and treatment record organized in case a buyer, lender, or insurer questions your protection.
Finally, you must coordinate the bond’s terms with your lender’s requirements at closing so the loan, bond transfer, and warranties all align.
Confirm Bond Transferability
Before you count on a termite bond to carry over to a buyer—or to you as the new owner—you need to confirm that it actually transfers and under what conditions.
Don’t assume it’s automatic; transfer rules vary by contract, provider, and state.
1. Verify the contract language****
Confirm it explicitly states the bond can transfer to subsequent owners and whether assignment requires written notice or fees.
2. Review coverage history****
Check for continuous renewals, treatment records, and any lapses that could void transfer.
3. Conduct an independent inspection****
Order a WDIR near closing to confirm active coverage, current conditions, and lender requirements.
4. Check provider policies and regulations
Ask about transfer fees, new inspection requirements, and any state rules that could limit or void transferability.
Preserve All Bond Records
Even if your bond transfers cleanly on paper, you’ll invite disputes and coverage gaps if your records are incomplete or scattered. Keep the original termite bond contract, with all pages, in a secure but accessible place. File treatment records from the initial application and every retreatment so the new homeowner and provider can verify what’s been done.
Organize inspection reports in date order, including notes on “visible and accessible areas” checked. Retain receipts and proof of renewal payments to show continuous coverage.
Create a single folder (digital or physical) that also stores emails or letters clarifying exclusions, coverage changes, or special conditions.
| What to Keep | Why It Matters |
|---|---|
| Original bond contract | Proves terms, limits, and transfer rights |
| Treatment records | Documents past termite activity and responses |
| Inspection reports & renewals | Shows continuous, compliant coverage history |
| Provider correspondence | Clarifies modifications, exclusions, conditions |
Coordinate Lender Requirements
Surprisingly often, the biggest termite bond mistakes happen not with the pest company, but with the lender.
You need to line up your bond, inspections, and paperwork so underwriting doesn’t stall your closing or force expensive retreatment.
Coordinate early with your lender and bond provider by focusing on these points:
- Termite letter & bond status – Confirm your bond is active, transferable, and backed by a current inspection so the lender can approve the loan without extra reports.
- No coverage gaps – Renew before closing; a lapse can trigger full new treatment and re‑inspection.
- Inspection access – Clear foundations, crawlspaces, and stored items so technicians can inspect everything lenders require.
- Avoid mid‑sale provider switches – They create documentation gaps, setup fees, and fresh lender scrutiny that delay funding.
Conclusion
When you’re buying a home, don’t let the termite bond be an afterthought. Confirm what’s covered, verify it’s transferable, and get every document from the seller. Coordinate with the pest control company early, especially if you’re using VA or FHA financing. After closing, keep up with inspections and any required treatments so you don’t void coverage. With a little attention now, you’ll protect your investment and avoid costly termite surprises later.