How to Termite-Proof Your Deck and Outdoor Wood Structures
You termite‑proof your deck by choosing resistant materials like ipe, cedar, redwood, or pressure‑treated lumber and keeping all wood elevated on concrete footings or metal stirrups. Add metal termite caps or stainless steel mesh at piers and around pipes, and swap wood mulch for gravel. Fix leaks, improve drainage, and maintain good airflow under the deck. Inspect seasonally for mud tubes, soft wood, or discarded wings, and you’ll see how each step fits into a long‑term protection plan.
Key Takeaways
- Choose termite-resistant materials like ipe, teak, cedar, redwood heartwood, or pressure-treated pine, and consider composites or PVC for minimal termite risk.
- Keep all wood elevated on concrete footings and metal stirrups, maintaining clear soil-to-wood separation and a visible inspection gap from the house.
- Install continuous termite barriers, including metal caps, stainless steel mesh, and sealed service penetrations, to block hidden termite entry routes.
- Ensure good ventilation and drainage under and around the deck, using vapor barriers, proper grading, and non-wood mulches like crushed stone to reduce moisture.
- Perform regular DIY and annual professional inspections, checking for mud tubes, soft or sagging wood, discarded wings, and damaged moisture barriers.
Choose Termite-Resistant Materials for Your Deck
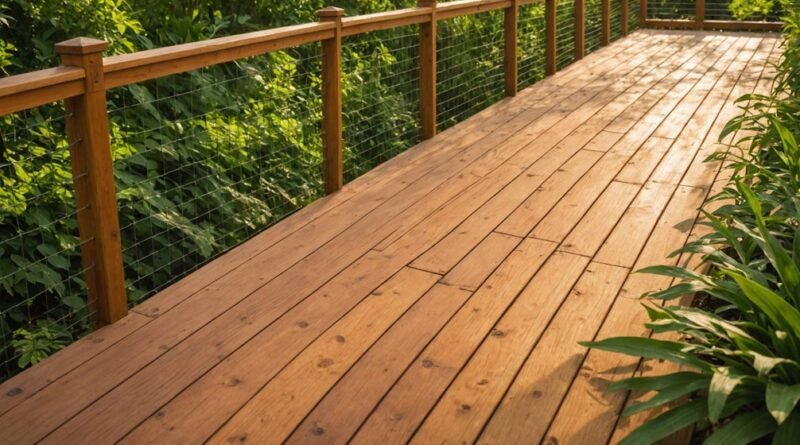
Material choice is your first and strongest line of defense against termites, so start by selecting decking products they can’t eat or easily invade.
Material choice is your first and strongest termite defense—choose decking they can’t chew through or quietly invade
If you prefer real wood, look for naturally resistant hardwoods like ipe, teak, mahogany, redwood, and cypress. Their dense structure, tight grain, and natural oils create a hostile environment for termites, especially in heartwood boards. Ipe is especially valued for its natural hardwood durability and resistance to bugs and rot, making it ideal for long-lasting outdoor spaces.
You can also choose softwoods with built‑in protection. Cedar and redwood heartwood contain termite‑repelling compounds and aromatic oils that deter insects, including powder post beetles and carpenter ants.
Just plan to reseal cedar every few years.
For a budget‑friendly option, pressure‑treated southern yellow pine uses preservatives like ACQ or CBA that deeply penetrate the pores and make the wood unattractive to termites and rot.
If you want minimal maintenance, consider composites, PVC, or aluminum. These materials contain no digestible cellulose, so termites can’t feed on them at all.
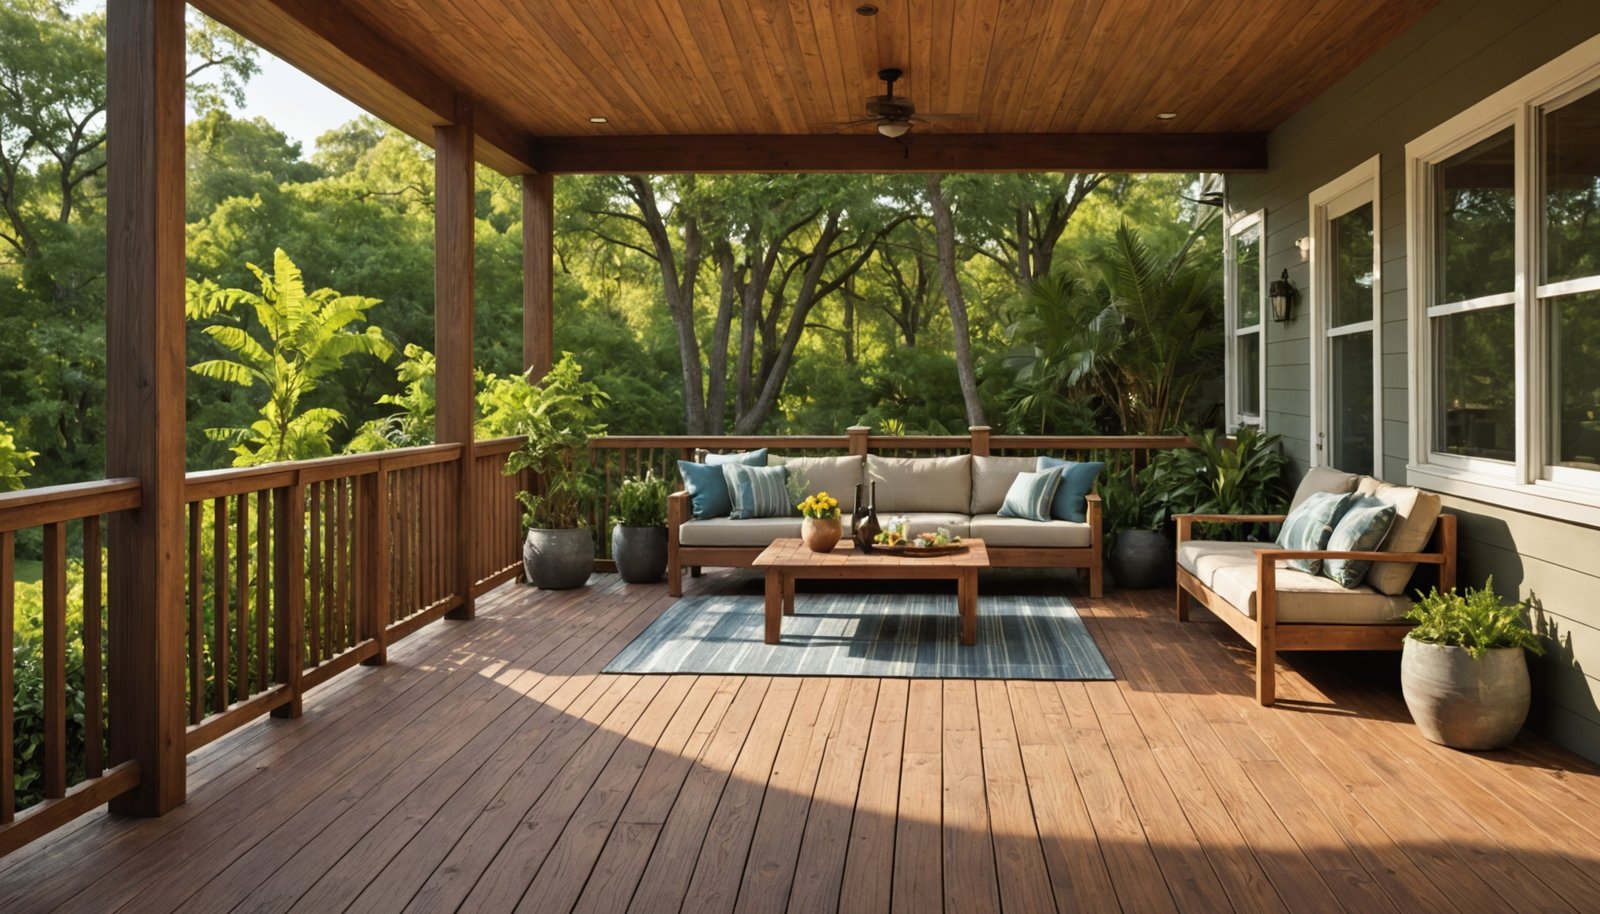
Design Deck Layouts That Discourage Termites
When you plan your deck’s layout with termites in mind, you cut off many of their easiest access routes. You’ll want smart footing placement, termite-aware framing, and optimized ventilation and drainage so moisture and hidden entry points don’t build up. Regularly inspecting the deck during and after construction helps you spot and correct design issues that might otherwise invite termites.
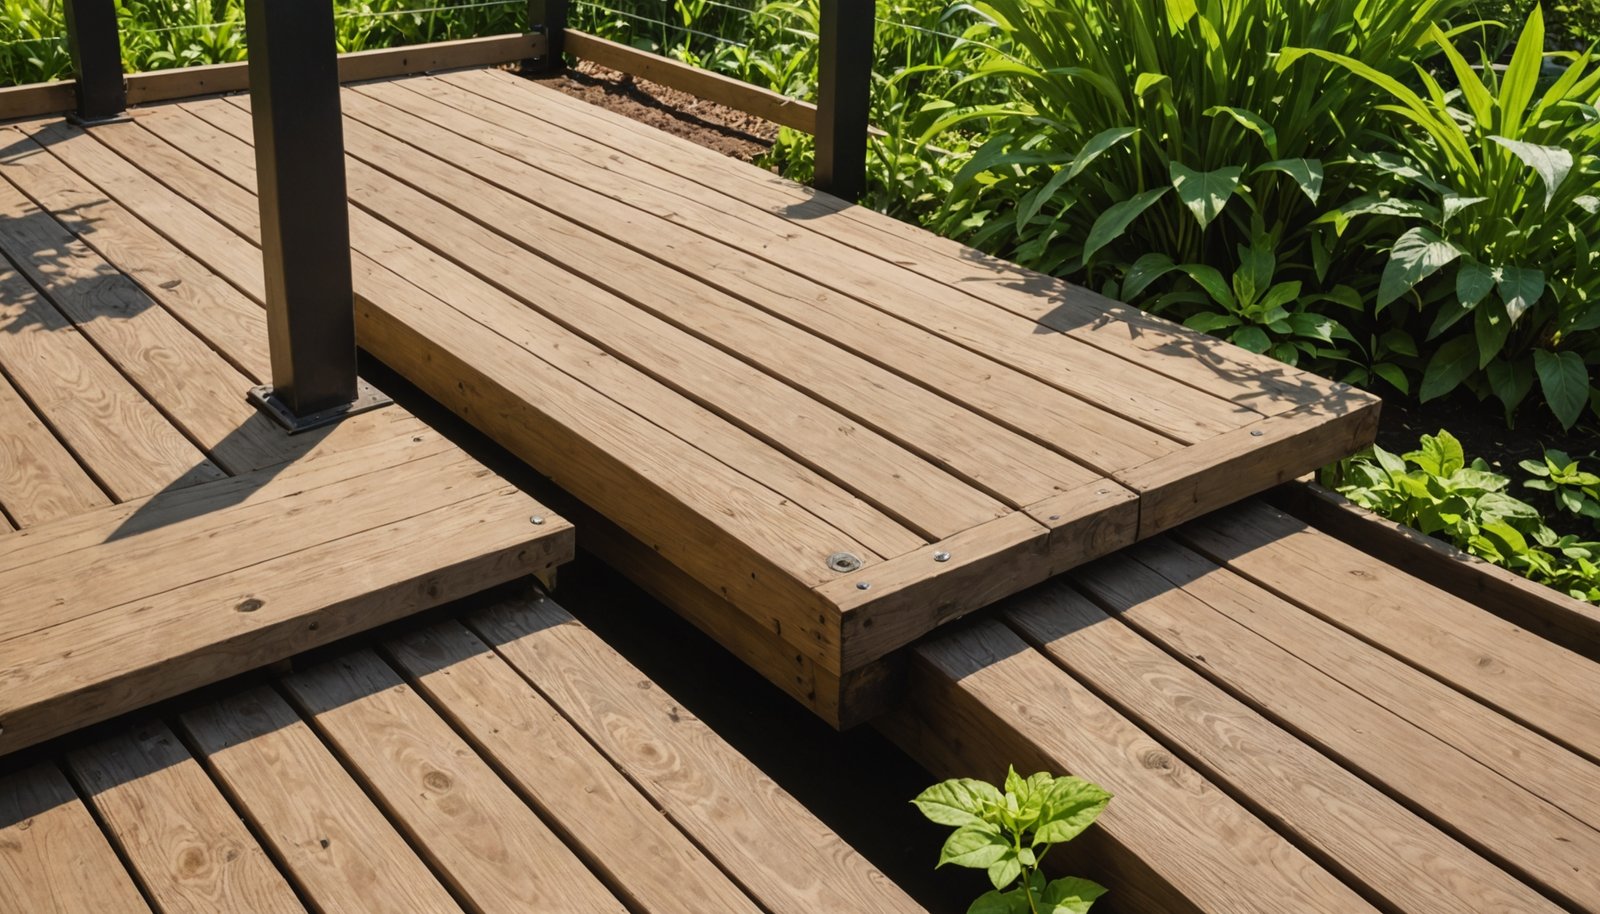
Smart Deck Footing Placement
Even before you pick up a post-hole digger, smart footing placement sets the tone for a termite-resistant deck. Keep every structural member out of the soil. Don’t set posts directly in concrete-filled holes; pour concrete footings, then mount posts on metal stirrups so timber never touches dirt and sits 3–4 inches above grade.
Extend that thinking across the layout. Maintain a 6-inch inspection gap between the deck and the house, and mount the ledger (wall plate) securely and horizontally so it’s elevated and visible. Weep holes should always remain exposed and unobstructed so termites can’t exploit concealed entry points behind or below the deck.
Support steps on concrete pads or stirrups, never bare ground. Keep plumbing and electrical conduits off the soil so they don’t become hidden termite highways.
Finally, clear away stumps, scrap lumber, and wood mulch near footings.
Termite-Aware Framing Layout
Although termites are small, their behaviour shapes how you should lay out your deck frame. Start by keeping timber off the ground with galvanised stirrups, set in concrete, giving posts at least 75 mm clearance so you can spot mud tubes.
Maintain the 25 mm separation between deck frame and building envelope, and keep deck boards about 10 mm off external walls and a quarter- to half-inch from corner trim.
Space joists at 16 inches on center (12 inches for stiffer decks), and use blocking every 4–6 feet to stop movement without creating enclosed pockets. Properly planned inspection points help ensure code compliance while allowing you to check for termite activity over time.
Screw boards parallel to the house so you can lift only what you need for inspection. Maintain at least 400 mm under-deck height with clear access points.
Optimized Ventilation And Drainage
Your framing layout only goes so far if the space under and around the deck stays damp, so you need to plan ventilation and drainage into the design from the start. Proper ventilation and drainage significantly reduce termites by keeping timber drier and less attractive as a food and nesting source.
Size and place vents so air moves freely, especially within 10 feet of corners, and keep them at least 6 inches above soil. In crawlspaces, maintain at least 18 inches clearance from soil to wood (36 inches in high‑hazard zones) and keep siding and cladding 6–12 inches above grade for inspection.
Design drainage to capture roof runoff and route water away from the foundation and deck.
Use vapor barriers and, where needed, mesh or sand layers so moisture can’t accumulate below. Keep plumbing, wiring, and expansion joints off‑soil and inspectable to block hidden termite routes.
Protect Deck Piers and Foundations With Termite Barriers
One of the most effective ways to keep termites out of a deck is to stop them at the piers and foundation, where they first try to bridge into the structure.
Start by capping concrete piers with 26‑gauge galvanized steel pier caps. Extend the metal at least 2 inches past the pier and turn it down at about 45 degrees. That exposed, sharp edge forces termites to build fragile external tubes that collapse or become visible during inspection.
On masonry or ICF foundations, install stainless steel termite shields or mesh. Set them in mastic, overlap joints, and seal seams so you get a continuous barrier.
Let the shield project at least ¾ inch past exterior insulation and slab edges to block hidden bridging.
For added protection, use compacted sand or basalt particle layers under slabs and around utility penetrations, creating pesticide‑free exclusion zones that still let the structure perform normally.
Manage Soil and Moisture Around the Deck
Because termites flock to damp, sheltered conditions, managing soil and moisture around your deck is just as important as any physical barrier you install.
Start by controlling where water goes. Slope soil, porches, and walkways away from the house, and keep gutters clear so downspouts discharge at least 10 feet from the structure. In soggy yards, add French drains and free‑draining backfill to pull water away from the foundation.
Direct water away: slope surfaces, clear gutters, extend downspouts, and use French drains to keep foundations dry
You also need to control moisture right at ground level. Maintain at least 24 inches of clearance under crawl spaces, use vapor barriers where needed, and consider dehumidifiers or vents in enclosed areas.
Use landscaping that dries fast instead of trapping moisture against wood:
- Swap wood mulch for crushed stone or pea gravel right next to the deck
- Use cedar mulch farther out and refresh it regularly
- Consider rubber mulch in termite‑prone areas
- Fix leaks and eliminate standing water quickly
- Power wash debris that can hold moisture
Seal Hidden Termite Entry Points in Deck Framing
Even with moisture under control, termites can still slip into a deck through tiny, hidden gaps in the framing and supports, so you need to seal those pathways intentionally.
Start where timber meets concrete or brick. Don’t embed posts directly in concrete; mount them in metal stirrups set in footings so termites must cross exposed metal instead of sneaking through hairline concrete cracks.
Install metal termite caps or approved barriers on top of piers before attaching timber framing.
Next, deal with utilities. Seal gaps where plumbing, gas lines, electrical conduits, or HVAC lines pass through slabs or walls, using appropriate sealants or collars.
These openings often lead straight into wall cavities and deck framing.
Inspect expansion joints and visible concrete or mortar cracks.
Where joints or unavoidable slab penetrations occur, protect them with termite-rated steel mesh or barrier products so termites can’t follow those linear gaps into your deck structure.
Build Termite Perimeter Barriers Around the Deck
Create a continuous termite perimeter barrier around your deck so termites can’t reach the timber without becoming visible. Start at the foundation and work outward, closing every potential soil-to-wood pathway.
Wrap stainless steel mesh (0.66 x 0.45 mm) around posts, pipes, and service penetrations so termites can’t squeeze through. Where you’ve got concrete or insulated concrete, use peel‑and‑stick termite‑resistant membranes to cover exposed faces and joints.
Use metal termite shields or ant caps between piers, posts, and beams so termites must build visible mud tubes to cross. Make sure shields extend across the full width of the support and project at least 3 inches beyond it, angled down to shed water.
- Install brick or steel piers with built‑in ant caps
- Add concrete-filled caps on hollow‑block foundations
- Seal pipe penetrations with boots and detail patches
- Tape seams tightly with termite barrier seaming tape
- Position deck framing above all barrier levels
Maintain and Inspect Decks for Early Termite Signs
To keep termites from gaining a foothold, you’ll need to schedule regular seasonal checks of your deck and surrounding structures.
You’ll inspect moisture-prone areas, like the underside of the deck, joints, and spots near soil or standing water, for early visual, auditory, or probing signs of damage.
At the same time, you’ll monitor existing barriers and seals to confirm they’re intact, dry, and still blocking termite entry paths.
Schedule Seasonal Termite Checks
While one-off inspections help, building a seasonal schedule for termite checks gives your deck real protection. Aim for at least one professional inspection every year, more often (every 6–9 months) if you’ve had termite issues or live in a high‑risk region.
Each visit usually takes 1–2 hours and focuses on catching damage before it becomes structural.
Use the seasons to your advantage:
- In early spring, watch for swarms and discarded wings around your deck.
- During Termite Awareness Week (March 12–18), book your spring inspection.
- In late summer, re-check for new mud tubes or tunnels.
- In fall, schedule another inspection to catch activity before winter.
- Keep simple notes so you don’t miss your next check.
Inspect Moisture-Prone Areas
How often do you really look at the damp, hidden corners around your deck?
Start with every spot that traps moisture: the underside of deck boards, steps, posts where they meet soil or concrete, and adjacent crawl spaces or basement walls. Use a flashlight to scan for mud tubes—brown, pencil-thin, and branching on foundations or supports.
Check wood surfaces for peeling or bubbling paint, tiny holes, or discarded wings.
Press boards and railings; damaged areas feel soft, crumble under pressure, or sound hollow when tapped. Note any sagging, springy, or warped boards, especially near edges and stairs.
As you inspect, also look for sources of moisture like standing water, damp soil, or condensation that could keep those areas continually attractive to termites.
Monitor Barriers And Seals
One of the easiest ways to stay ahead of termites is to regularly check the barriers and seals that are supposed to block them in the first place.
Focus on every spot where termites could slip through: joints, penetrations, slab edges, and deck connections to the house. Look for gaps, rust, damage, or disturbed soil that might signal tunneling.
- Check stainless-steel shields and pressed metal ant caps for rust, bending, or missing mastic.
- Inspect mesh and particle barriers at slab edges, joints, and around posts for gaps or washouts.
- Examine sealants, seams, and tapes around pipes and utilities for cracks or peeling.
- Confirm epoxy collars still cover 360° around penetrations above barriers.
- Use your inspection gaps and crawl-space clearance to scan for new mud tubes.
Retrofit Termite Protection for Existing Decks
Even if termites are already a concern around your home, you can still retrofit strong protection for an existing deck by combining targeted physical barriers, chemical treatments, and careful inspection.
Start by adding stainless steel mesh around foundations and at wall or pipe penetrations, cutting collars to fit snugly around services. Where you’ve got masonry or concrete, install continuous metal termite shields at the top, extending the edge outward to create a clear inspection gap.
Next, use treated sheet materials on subfloor elements and extend them to deck attachments, and apply TERM® Supplemental Termite Barriers to slab cracks and penetrations.
Combine this with APVMA‑approved liquid termiticides around foundations and service penetrations, or install a reticulation system so a professional can replenish the soil treatment to AS 3660 standards.
Finally, maintain inspection zones, monitor stations, and routine professional inspections to confirm your retrofit system stays intact.
Conclusion
By planning smart, using termite-resistant materials, and staying on top of inspections, you’ll keep your deck far less inviting to hungry termites. Combine physical barriers, good drainage, and sealed entry points so colonies can’t sneak in unnoticed. Keep clutter and moist soil away from the structure, and don’t ignore small warning signs. With a little routine maintenance, you’ll protect your deck, avoid costly repairs, and enjoy your outdoor space with confidence for years.