Termite Bait Stations: How to Install and Monitor Them Yourself
You can install termite bait stations yourself by first choosing a system that fits your soil, layout, and budget. Space stations 9–15 feet apart, about 1–2 feet from your foundation, focusing on shaded, mulched, or moist areas. Drill holes to fit the stations snugly, then cap and secure them. Inspect monthly in active seasons and quarterly otherwise, replacing bait when you find termites. With the right setup and schedule, you’ll see how to make DIY baiting work effectively.
Key Takeaways
- Space bait stations 9–15 feet apart, 1–2 feet from the foundation, focusing on shaded, mulched, and high-moisture areas.
- Map your entire perimeter, including patios and slabs, and add extra stations near downspouts, tree roots, and known termite activity.
- Inspect stations monthly when termites are active, otherwise at least every three months, watching for termites, mud tubes, and wood damage.
- Replace bait immediately when live termites are found, and adjust inspection frequency based on season and local termite pressure.
- Wear gloves, goggles, and a mask when handling bait, avoid bare-hand contact, and store products in original containers away from heat.
Is DIY Termite Bait Right for You?
Wondering if you can handle termite baiting on your own—or if you really need a pro? You absolutely can manage DIY bait stations, but you need realistic expectations.
Studies show several systems wiped out western subterranean termite colonies, and medium-sized colonies elsewhere dropped by around 90–96% in just 16 weeks. But those results didn’t happen overnight.
You’re likely committing to a year or more before termites even hit your stations—average interception times ran about 327–383 days, with only a handful of stations attacked within the first 2–4 months. Overall hit rates hovered around 44%, and some species showed very low interception. Because results can vary so widely, you’ll still want to pair baiting with simple physical barriers like exposing slab edges and keeping at least 75mm clearance from gardens.
DIY shines on cost and convenience. You avoid trenching, drilling, and harsh liquid chemicals, and systems like Termicure and Envirobug are simple, low-toxicity, and marketed for homeowners.
Still, poor installation, misidentifying termites, or hard-to-reach areas can leave stations untouched and your home at risk.
Choose the Right Termite Bait Station System
When you choose a termite bait station system, you’ll need to compare how the major options work, how much bait they hold, and how quickly they affect a colony. You should also consider whether the system offers minimal disruption to termite activity, since less disturbance generally leads to better and more reliable feeding.
You should match the system’s design and flexibility to your property’s soil, layout, and current termite pressure.
Then you can weigh upfront cost, monitoring frequency, and long-term maintenance to pick the setup that actually fits your budget and effort level.
Compare Popular Bait Systems
Although all termite bait stations work toward the same goal—eliminating the colony—the systems differ in how they deliver bait, what they cost, and who can install them.
Sentricon Always Active uses noviflumuron in pre-loaded cartridges, offers once-a-year checks, but costs more and only authorized pros can buy and install it. Sentricon also requires a contract with a Certified Sentricon Specialist for professional inspection and maintenance.
Trelona ATBS uses novaluron, comes pre-baited with wood and Puri-Cell, and many pros like its open distribution, but it needs larger 4–6″ holes and twice-yearly checks.
Exterra uses external Tasmanian oak timber, holds more bait, and is usually cheaper than Sentricon.
Hex Pro is fundamentally the original Sentricon in a DIY-friendly gray station you can buy directly.
Red Eye focuses on quick visual monitoring and direct foam treatments.
Match System To Property
Choosing the right termite bait station system starts with matching the product to your property’s specific risks, layout, and constraints. If you’re in a high-risk area or already seeing activity, Exterra or in-ground systems around infestation centers work well, especially where chemicals aren’t suitable. [Because Exterra is only available to professionals, DIY users who want a similar level of monitoring and flexibility often turn to the Termicure Gen2 system with its multiple treatment methods.] Lower-risk situations often suit Trelona Advance, which you can place around standard perimeters or in concentric rings on complex blocks.
Larger or irregular sites push you toward flexible, DIY-friendly options like Termicure Gen2, HexPro, or Advance, especially when you want direct soil contact and simple installation.
| Situation | Better Choices | Key Reason |
|---|---|---|
| High risk / active sites | Exterra, in-ground rings | Heavy-pressure targeting |
| Low risk | Trelona Advance, Sentricon | Perimeter coverage |
| DIY access | Termicure, HexPro, Advance | Non-restricted availability |
| Mixed treatments | Trelona, Sentricon, Advance | Works with existing soil barriers |
Evaluate Cost And Maintenance
After you match a bait system to your property, the next filter is what you can realistically afford to install and maintain over the long term. Whole‑home bait systems typically run $1,000–$2,500, while Sentricon‑style installs can hit $1,500–$3,000. DIY kits cut that sharply: an Advance kit starts around $279.95, Hex Pro about $231.04, plus $7–$12 per linear foot in stations. Because bait systems rely on a perimeter layout, you’ll need to budget for enough stations to maintain proper 10–15 foot spacing around your structure.
Weigh both upfront and ongoing costs:
- Initial hardware – Station kits, concrete stations at $27.62, or Hex Pro units from $13.19.
- Per‑foot coverage – Stations every 10–20 feet; compare to $3–$16/ft liquid barriers.
- Annual service – Expect $200–$500 for monitoring, refills, and cartridge replacements.
- Risk and warranties – Pro systems may include termite bonds; DIY saves cash but shifts responsibility to you.
Plan Termite Bait Station Placement and Spacing
Two priorities drive effective termite bait station layout: even coverage around the structure and precise placement where termites are most likely to forage.
Plan a continuous perimeter, aiming for stations every 9–15 feet in accessible soil, and never more than 20 feet apart. Systems like Sentricon AlwaysActive specify spacing of about 3 meters; others, like Advance or Hex-Pro, work best at closer intervals.
Set your layout line 1–2 feet from the foundation, roughly 11–19 inches or 300–500 mm out, keeping stations close to where termites naturally forage but outside any prior termiticide zone.
If you suspect earlier chemical treatments or downhill termiticide movement, shift the line slightly farther out.
Map sun exposure, drainage, and shade. Favor moist, dark soil beyond eave protection, and concentrate extra stations near downspouts, mulch beds, and tree roots.
In paved areas, plan for coring or butt stations along edges to maintain overall spacing.
Step-by-Step Termite Bait Station Installation
Now that you’ve planned where each station should go, you’re ready to install them with careful, measured steps.
You’ll start by drilling precise holes to the right depth and diameter for your soil and surface conditions.
Then you’ll set each bait station correctly in the ground so it sits secure, drains properly, and attracts termites efficiently.
Planning Station Placement
Careful planning of station placement guarantees termites find your bait before they reach the structure.
Start by mapping your entire perimeter, including patios, porches, and slabs. You’ll usually place stations 1–1.5 feet from the foundation to intersect foraging tunnels while avoiding dry soil right under eaves. If you suspect prior soil treatments, shift outward toward 300–500 mm.
Use this simple framework:
- Distance from foundation: Aim for about 18 inches; never crowd the wall or drift too far into the yard.
- Spacing between stations: Install every 9–10 feet; don’t exceed 20 feet in any gap.
- Moist soil focus: Favor shaded, mulched, or organically rich areas.
- High‑risk zones: Add extra stations near downspouts, mulch beds, tree roots, and known termite activity.
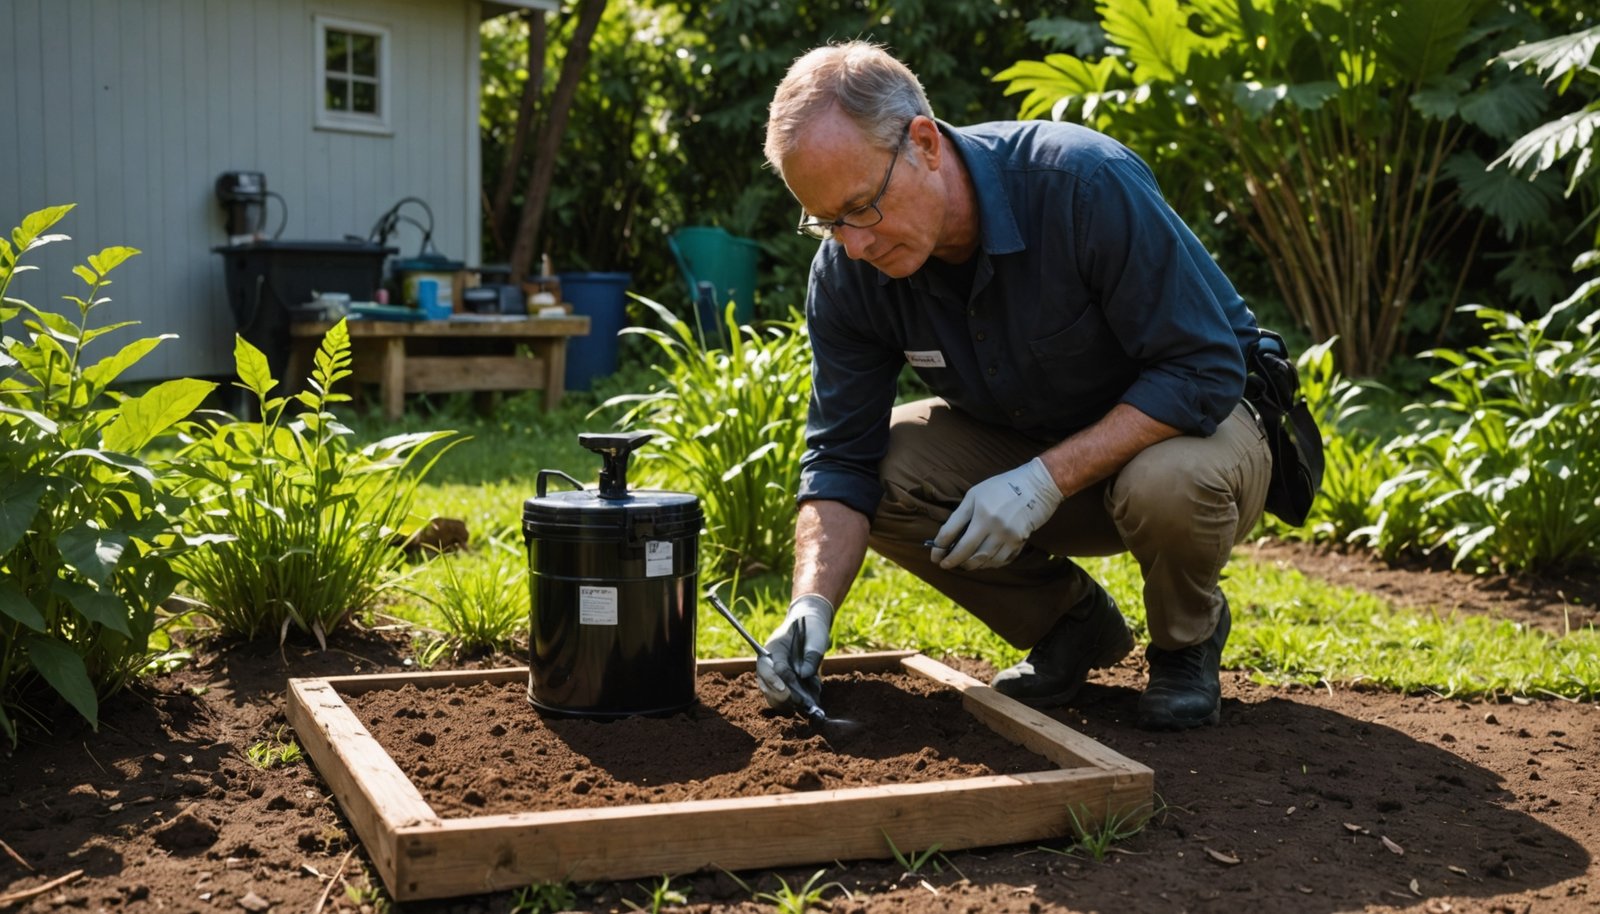
Drilling Precise Holes
Drill each hole like it matters, because it does: precise sizing and depth determine how well your stations sit, seal, and attract termites. Before you start, call 811 or use a locating wand to map utilities, sprinkler lines, and pipes, especially when you’ll drill 8–10 inches into soil. In tight lots, staying close to concrete edges can help you avoid sprinklers.
Use the right tool for the surface and soil:
| Situation | Recommended Tool / Bit |
|---|---|
| Plain soil | 2¾-inch hand or electric auger |
| Dense clay or roots | Flighted auger with carbide tip |
| Patios, driveways | 3-inch or 75 mm concrete core bit |
| Long perimeters | High-torque electric or gas-powered drill |
Dampen sandy ground and use depth stops so every hole matches your station depth plus 2–4 inches for drainage.
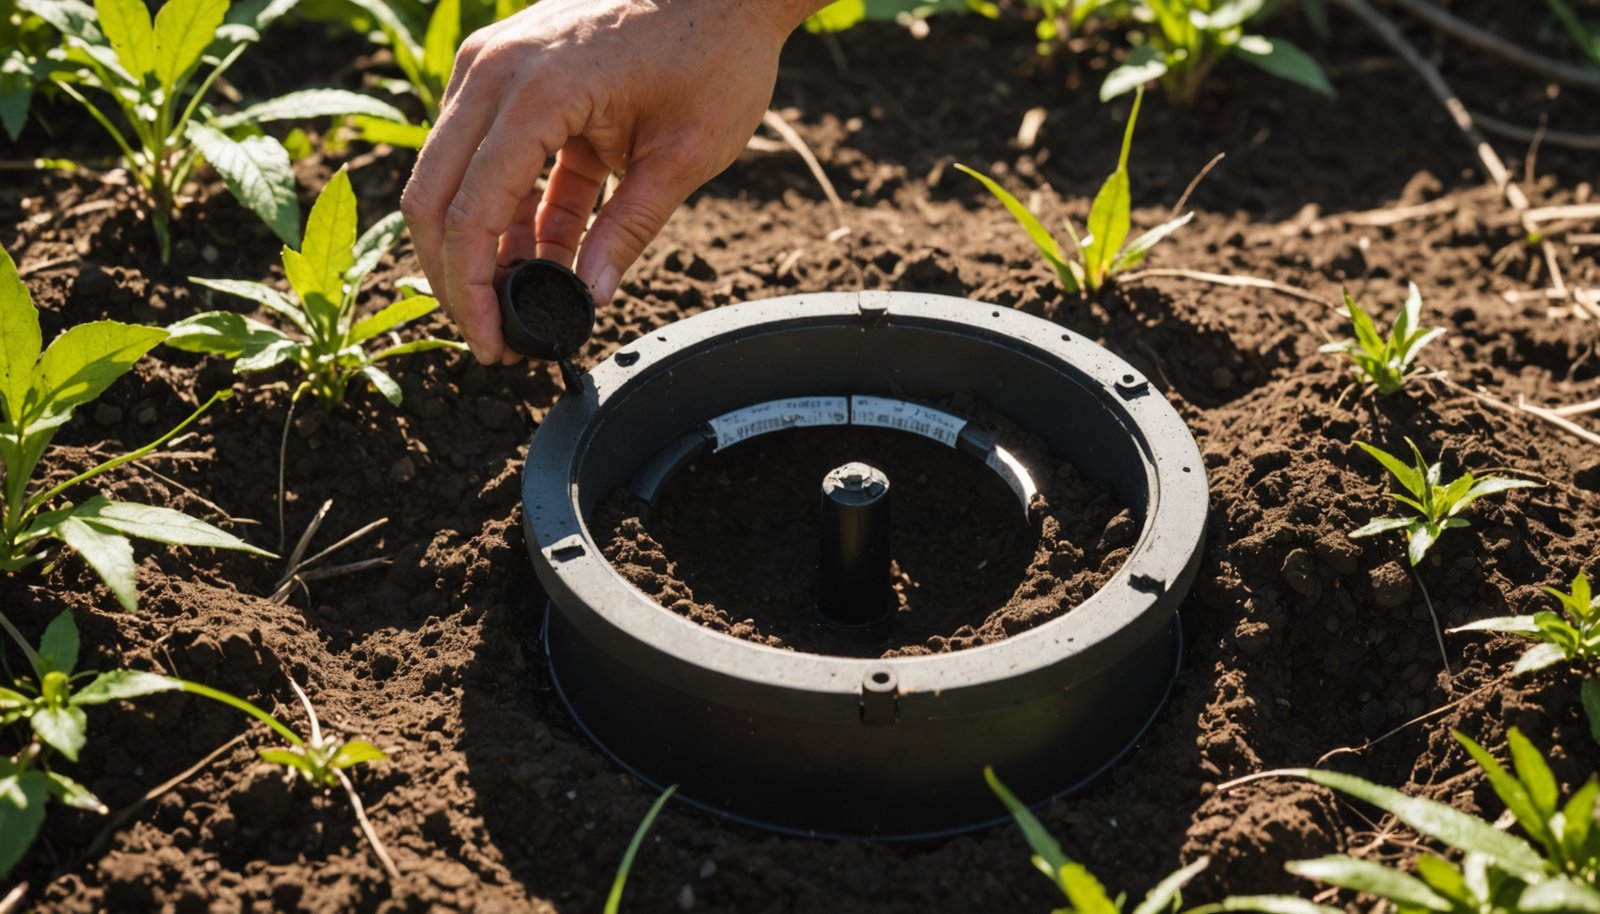
Installing Stations Correctly
Before you drop a single station into the ground, treat installation as a sequence of deliberate steps that control how attractive and durable your system will be. Start by probing for underground utilities, then dig cavities to the depth and diameter your station type requires, keeping them ten to twenty feet apart and within about a foot of the foundation in moist, shaded soil.
Follow this sequence:
- Dig holes one to three inches deeper than the station, clear loose soil, and adjust width so stations slide in without force.
- In sand, add a little water before augering; in clay, verify depth for drainage.
- Insert stations so collars sit flush or slightly recessed, then lightly tamp surrounding soil.
- On hard surfaces, add soil beneath, fasten if needed, and cap openings securely.
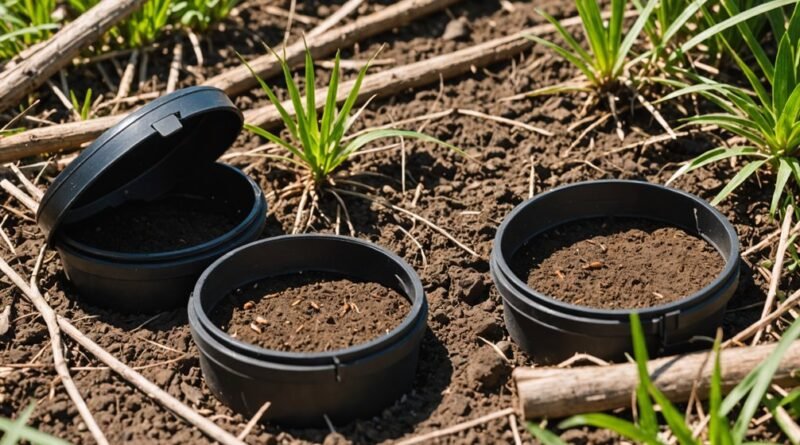
Handle Termite Bait and Station Caps Safely
One simple rule keeps termite bait stations effective and safe: handle the bait and caps as if even small contamination or exposure matters. Always wear disposable gloves, goggles, and a mask while handling bait or opening caps, and follow the PPE instructions on the product label. Termites are extremely sensitive to skin oils, fragrances, and chemical residues, so never touch bait or interior station parts with bare hands.
Prepare the area before handling. Clear debris to prevent trips, check for buried utilities, and make sure you’ve got good ventilation and no open flames or sparks nearby. Keep fire extinguishers handy and ground any transfer equipment if you’re moving larger quantities.
Store bait and caps in their original containers in a cool, dry, well‑ventilated place, away from heat and ignition sources. Use this quick guide:
| Task | Key Safety Step | Why It Matters |
|---|---|---|
| Putting on PPE | Gloves, goggles, mask | Reduces exposure |
| Handling bait | Use new disposable gloves | Prevents contamination |
| Working near utilities | Locate lines first | Avoids accidents |
| Managing spills | Contain; avoid drains | Protects environment |
| Protecting residents | Keep distance, share allergy info | Reduces health risks |
Monitor Stations and Replace Bait on Schedule
Two habits keep a baiting system working: checking stations on a set schedule and replacing bait as conditions change.
If you know termites are active, inspect stations within one month of installation; without known activity, check within three months. After that, most homes do well with quarterly checks, plus a careful interior and exterior inspection once a year.
During each visit, look through clear caps for termites or mud tubes, and check nearby soil and wood for wings, swarmers, or damage.
At every visit, scan station caps, nearby soil, and wood for termites, mud tubes, wings, swarmers, or damage
When you see live termites in a monitor, swap in bait immediately and keep replenishing it as they feed.
Use this basic schedule and adjust for weather:
- Active termites: inspect monthly until activity stops.
- No activity: inspect at least every 90 days; never exceed six months.
- Cold weather: delay only briefly, then inspect within 30 days.
- Heavy rain or disturbance: inspect stations as soon as conditions are safe.
Conclusion
Now that you know how bait stations work, you’re ready to protect your home on your own terms. When you choose the right system, install stations correctly, and stick to a simple monitoring schedule, you’ll quietly knock out colonies before they cause costly damage. Stay consistent, record what you see, and refresh bait as needed. With a little effort, you’ll turn your yard into a long-term, low-stress termite defense zone.