Termite Inspections for Home Buyers & Real Estate Deals
You need a termite inspection before you buy because it protects your budget, uncovers hidden damage, and strengthens your negotiating power. Lenders often require it: VA in moderate/heavy zones (NPMA-33 by July 2025), FHA if the appraiser flags issues, and USDA when appraisals or lenders trigger it. Licensed pros check foundations, crawl spaces, and attics for mud tubes, frass, moisture, and damage. Skipping it risks costly repairs insurers don’t cover. You’ll also see who pays, timing, and next steps.

Key Takeaways
- Termite inspections protect buyers from hidden structural damage, unexpected repair costs, and insurance exclusions.
- VA, FHA, and USDA loans may require licensed WDI inspections based on location, appraiser findings, and risk zones.
- Inspectors check foundations, walls, crawl spaces, and attics for mud tubes, frass, moisture, and prior damage; reports include NPMA-33 where applicable.
- Treatments include liquid termiticides, baits, moisture control, and repairs; sellers often pay for remediation and repairs when infestations are found.
- Skipping inspections risks costly surprises and lower resale value; keep detailed inspection and treatment records for negotiations and transparency.
Why Termite Inspections Matter for Buyers

Even before you fall in love with a home, a termite inspection protects your budget, safety, and negotiating power. Termite damage can cost thousands, blow past insurance limits, or not be covered at all. Without an inspection, hidden infestations turn into surprise repairs after closing, draining funds you planned for moving or renovations.
Before you fall in love with a home, get a termite inspection to protect your budget and safety.
You also gain leverage: documented findings support price reductions, seller-paid treatments, or required repairs. Qualified inspectors bring experience, certification, and knowledge of termite behavior.
You can’t rely on a general home inspection to catch everything. Termites weaken beams, floors, and walls, threatening structural stability and occupant safety. Licensed pros examine interiors, exteriors, attics, crawl spaces, and other hotspots, spotting mud tubes, droppings, shed wings, and risks from carpenter ants or wood-boring beetles.
The report details current activity and conditions—like moisture or wood-to-soil contact—that invite future problems.
Armed with facts, you make informed decisions, preserve market value, and keep deals on track—or walk away before costly surprises hit.
Lender Requirements: FHA, VA, and USDA Explained
When you use FHA, VA, or USDA financing, you’ll face specific rules on when termite inspections are required—often triggered by appraiser findings, local customs, or lender discretion. FHA appraisal reviews include checking the foundation perimeter for termite evidence and may require a pest inspection if signs are observed. You must hire a licensed pest control professional to inspect and, if needed, treat the property. If damage or infestation is found, complete all repairs and secure clearance before closing.
When Inspections Are Required
Although each loan program treats termites differently, lenders tie inspection requirements to two things: where the home sits and what the appraiser sees.
In moderate to very heavy termite zones, VA loans mandate inspections regardless of visible evidence. Since July 1, 2025, VA loans requiring an appraisal must use the NPMA-33 WDI report, including cash-out refinances; expanded zones (like new Colorado counties) can add inspections and delay appraisals. In many areas, inspection costs typically range from $50 to $280, with an average near $100.
FHA loans hinge on the appraisal. If the appraiser notes termites or damage, you’ll need a professional inspection.
FHA frequently requires completion of Section One—and typically Section Two—repairs before approval, especially in warmer climates.
USDA loans don’t default to inspections. They’re triggered by the appraisal or lender request, with required treatments and repairs usually completed before closing.
Who Can Inspect
Because lenders tie termite risk to loan eligibility, they only accept inspections from properly credentialed pros—and each program sets its own bar.
For VA loans, you’ll use a state-certified termite inspector or pest control specialist authorized to issue the NPMA-33 Wood Destroying Insect Report. VA requires inspections in moderate-to-heavy risk areas and may rely on the appraiser’s call elsewhere. Starting July 1, 2025, VA requires NPMA-33 WDI/WDO inspections in newly designated counties and will not issue an NOV without the report in those zones VA policy change.
FHA follows HUD guidance and TIP zones. If risk or evidence exists, a licensed/certified pest inspector must inspect every potentially infested structure per appraiser instructions. Lenders can still demand an inspection to limit risk.
USDA generally requires an NPMA-33-style report from a state-licensed inspector covering all wood-destroying organisms.
Across programs, inspectors must hold active licenses, maintain any state-required continuing education, use standardized forms, and produce documentation suitable for underwriting.
Repairs Before Closing
Before you can close with FHA, VA, or USDA financing, lenders expect termite issues to be identified, fixed, and documented.
FHA appraisers flag visible infestations and structural damage; lenders typically require all Section One repairs before approval, and often push Section Two items when safety is unclear. Requirements shift by local risk zones, so expect conservative calls.
VA loans require pest inspections in designated risk areas, expanding nationwide via NPMA-33 starting July 2025 for loans needing appraisals. Homeowners insurance typically does not cover termite damage, so buyers should plan for potential repair costs outside of insurance coverage.
If damage exists, the seller must repair it before closing; either party can pay, but the loan won’t fund until completion.
USDA frequently mandates inspections across all structures.
Repairs for active infestation and damaged wood come first. Waivers exist in low-risk areas or small loans, with USDA approval.
Who Pays: Inspection, Treatment, and Repair Costs
Even in the same city, who pays for termite inspection, treatment, and repairs can shift with market conditions, lender rules, and your purchase contract.
In many states (like California), sellers typically cover the inspection to show the home’s condition. In a buyer’s market—or when lenders require it—you may end up paying.
Because customs vary, write payment terms into your offer and use them as negotiating levers.
If an active infestation appears, sellers usually pay for treatment or provide a clearance report. You can also negotiate a price reduction or seller credit instead, but get professional estimates so the numbers hold up.
For damage, sellers are generally responsible for code-compliant repairs before closing, or you renegotiate price and concessions.
- Know your leverage: market conditions and lender requirements can flip who pays.
- Put cost responsibilities in the purchase agreement—don’t rely on custom.
- Use documented findings to request treatment, repairs, credits, or price cuts.
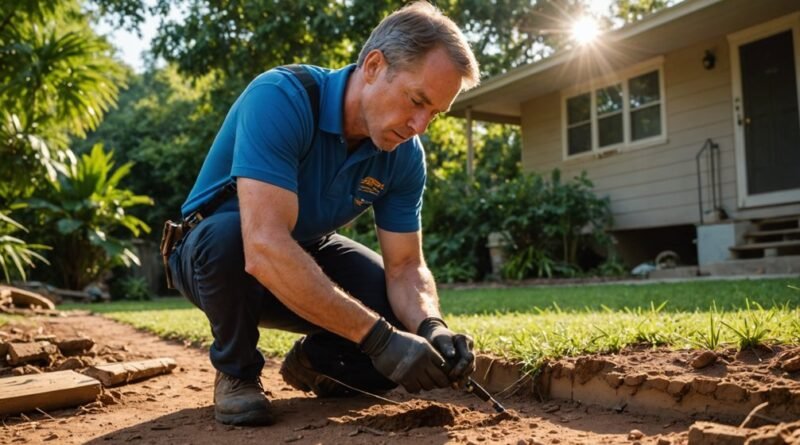
What Inspectors Look For During a WDI Inspection
A WDI inspection focuses on evidence that wood-destroying insects are present, active, or likely to thrive. Your inspector scans foundations, walls, and piers for mud tubes, taps wood for hollow sounds, and checks beams, joists, and trim for exit holes, frass, or crumbling edges. They’ll note damage in baseboards and wooden fixtures that suggests current or past activity.
Expect a close look at crawl spaces, basements, attics, foundations, sill plates, studs, and roof eaves. Areas with leaks, staining, or visible moisture get extra attention because excess moisture attracts termites and other WDIs.
Inspectors use flashlights, mirrors, and probing tools to test wood, plus moisture meters to spot elevated readings inside materials. In tough cases, they may deploy acoustic devices or trained detection dogs.
They’ll also identify conducive conditions—wood-to-soil contact, poor drainage, damaged gutters, mulch against the foundation, inadequate ventilation, or prior water damage—so you understand where risk is highest and what to correct promptly.
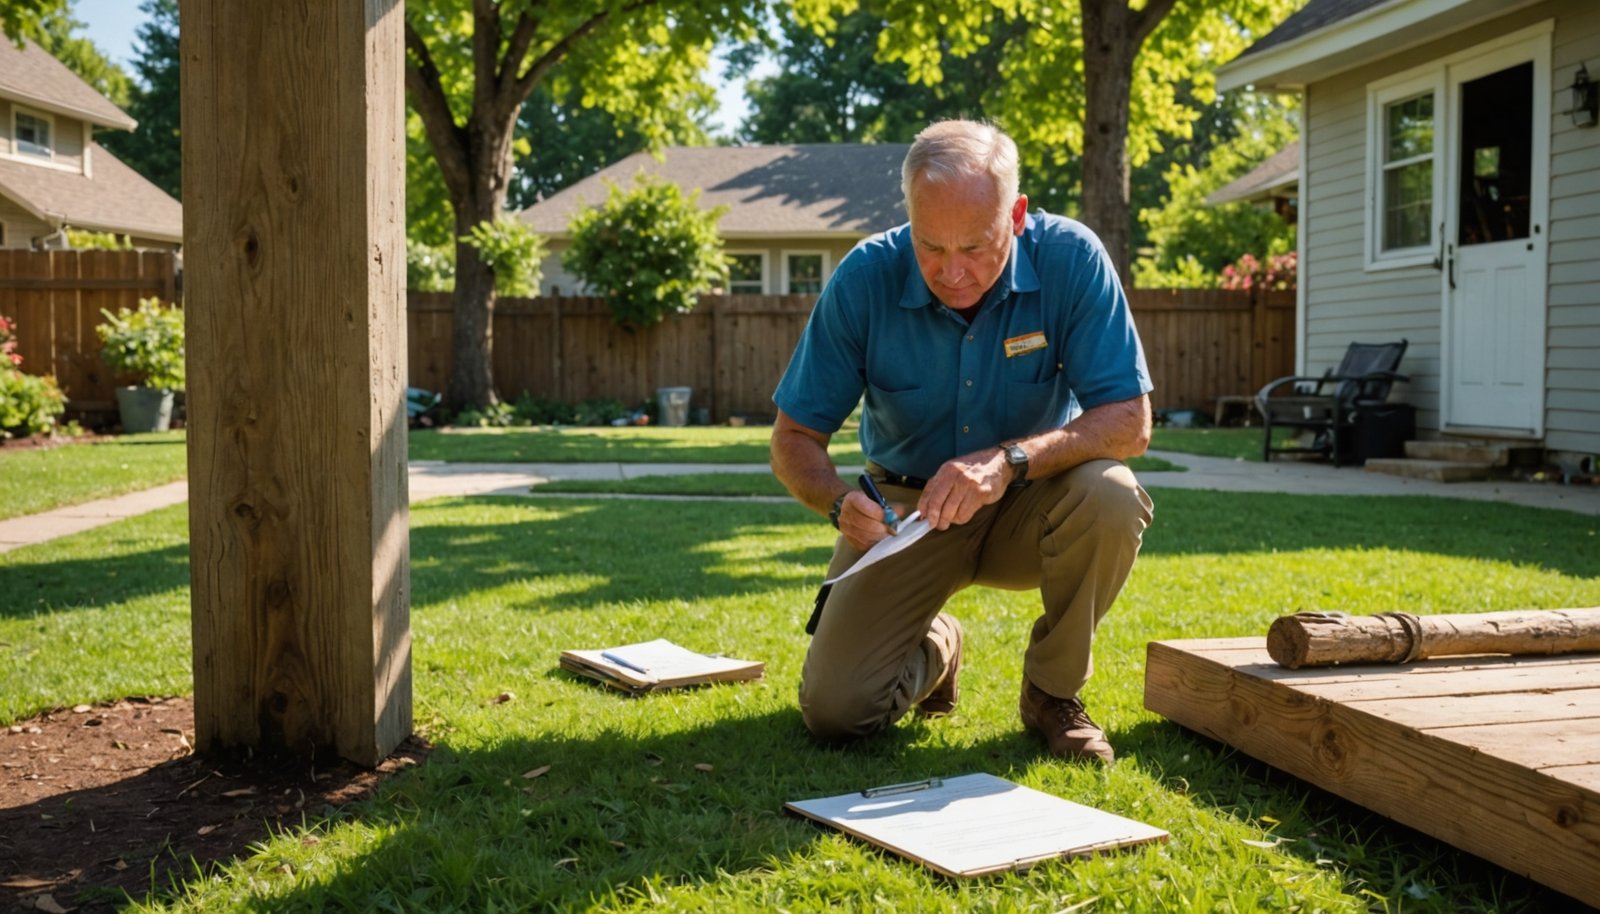
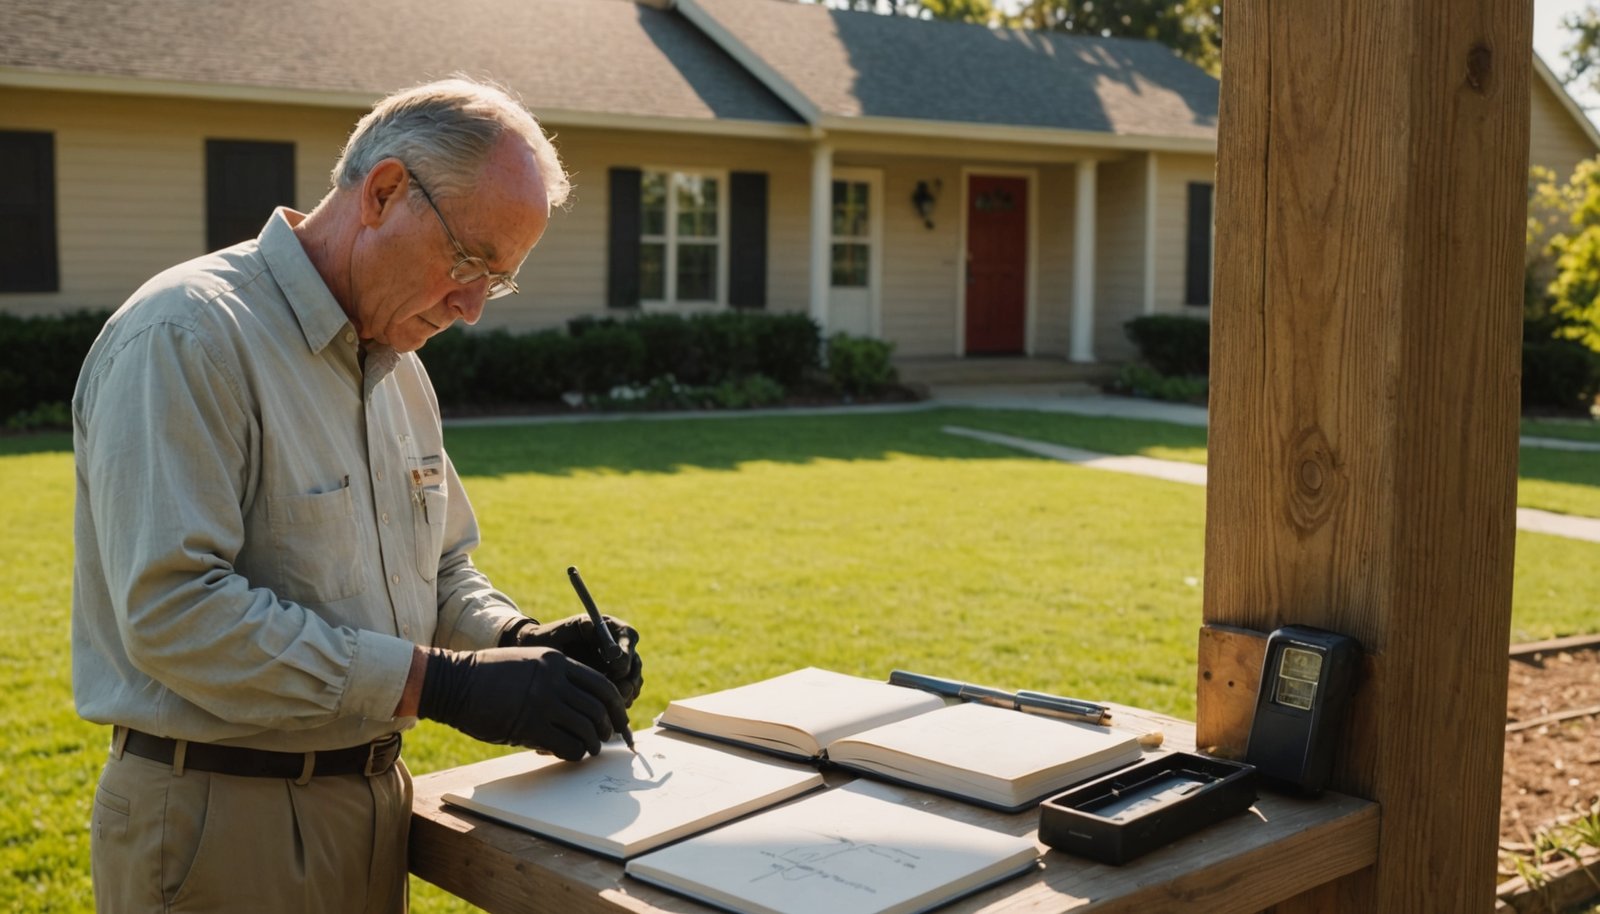
The Termite Inspection Report: What’s Included
Whether you’re buying or selling, the termite inspection report lays out exactly what the inspector saw, where they looked, and who’s accountable. You’ll see property details (address, client, inspection date), the inspector’s license and company contacts, and the inspection scope—interior, exterior, crawl space, attic, and basement.
Many reports include annotated diagrams or floor plans marking damage and inaccessible areas, plus photos for clarity. The report notes inspection validity, typically 30–90 days, which lenders may specify.
Expect diagrams, marked problem areas, photos, and lender-specific validity—usually 30–90 days.
It documents active infestations (live termites, mud tubes, damaged wood), evidence of past damage, other WDOs like fungal decay, conducive conditions such as moisture or wood-to-soil contact, and any areas the inspector couldn’t access.
Expect practical recommendations: treatment options when activity is present, repair guidance to restore integrity, and advisories for further evaluation if issues are extensive. Treatment/repair history and negotiation pointers help you address findings before closing.
- Verify credentials and dates
- Review inaccessible areas and uncertainties
- Align lender requirements with report validity
Regional Risk: States and Climates With Higher Termite Pressure
Once you understand what the report covers, you can gauge how urgently risks apply where you’re buying.
In the Southeast, heat and humidity keep termites active year-round. Florida leads the nation, with six species (including Formosan and Asian subterranean) and dense urban colonies; Miami ranks No. 1, and Tampa, Orlando, and West Palm Beach sit in the top 10. Half of southern Florida homes could face risk within 20 years. Nearby Georgia, South Carolina, Alabama, Mississippi, and Louisiana also see severe damage.
Texas is an emerging hotspot. Warm temps, varied soils, and a longer season push cities like Houston, Dallas, Austin, Waco, and San Antonio onto top infestation lists; Oklahoma City’s rise signals broader regional pressure.
On the West Coast, California’s coastal cities—Los Angeles, San Diego, San Francisco—face growing issues, especially with drywood termites in older, dense housing.
Northeast and Midwest markets have lower pressure but still face subterranean activity, warranting vigilance.
Timing the Inspection in the Homebuying Process
You should start termite due diligence before you write an offer by checking local risk, typical repair costs, and lender requirements.
Once under contract, schedule the termite inspection the same day you book the general inspection to protect your contingency timeline.
Build in a buffer for re-inspections and report delivery so you can negotiate repairs or credits without risking closing delays.
Pre-Offer Due Diligence
First things first: schedule a termite inspection during your due diligence window, not after it.
Lock it in alongside your general home inspection and any foundation or moisture assessments. You’ll get a fuller picture of wood-to-soil contact, excess moisture, and any structural risks.
Early results let you negotiate repairs or credits before you commit, and they align with lender requirements for FHA or VA loans. Don’t rely solely on seller reports or push this past due diligence—“buyer beware” can leave you paying for hidden damage.
- Coordinate inspections within a 7–14 day window so you have time to review findings and act.
- Request an NPMA-33 from a licensed operator to document evidence and recommendations.
- Write clear contract terms assigning responsibility, timing, and remedies if termites or conducive conditions appear.
Contingency Period Scheduling
After lining up inspections during due diligence, focus on fitting the termite check squarely inside your contract’s contingency window.
Book it early and parallel to the general home inspection to maximize efficiency and preserve buffer days. That cushion covers treatments, repairs, lender-mandated reinspections, or an appraiser-triggered WDI review.
Confirm lender requirements up front. Many need a WDIR (often NPMA-33, or NPMA-99 for new construction) in termite-prone states like Texas, Maryland, and Virginia.
Plan to submit the report to underwriting at least 48 hours before final approval to avoid funding delays.
Schedule promptly—most inspections take 30–60 minutes but longer for large homes or crawl spaces.
Choose a licensed, locally experienced inspector. If termites surface, negotiate repairs or credits immediately to protect financing, timelines, and the deal.
Consequences of Skipping a Termite Inspection
Although it’s easy to overlook, skipping a termite inspection can saddle you with hidden structural damage, steep repair bills, and legal headaches. Termites work silently, undermining floors, walls, ceilings, and support beams. Without an inspection, colonies expand unchecked, turning manageable issues into sagging floors, warped walls, and, in extreme cases, partial collapse.
You won’t see early warning signs, so by the time damage is obvious, repairs are invasive and costly.
Financially, you’re likely on the hook. Most insurance policies exclude termite damage, and discovery after closing can slash property value. Lenders and appraisers may balk at unidentified risks, jeopardizing financing and timelines. If undisclosed damage surfaces post-sale, you could face disputes—or litigation—over who pays.
- You inherit escalating repair costs as infestation severity grows.
- You assume health risks from mold tied to hidden termite tunnels and weakened structures.
- You risk blown deals, price renegotiations, and legal liability when issues emerge later.
Treatment Options and Repair Considerations Before Closing
If skipping an inspection can leave you with hidden damage and liability, the next step is knowing how to fix issues before you close. Choose treatments that match the infestation. Liquid termiticides form soil barriers and deliver fast knockdown—ideal when you see mud tubes or soil contact. Sub-slab injections target subterranean termites beneath concrete. Bait stations are less invasive; termites carry toxicants back to the colony, making them great for sensitive landscapes.
Use physical measures to support treatments. Improve ventilation, add moisture barriers, or specify sand and metal screens where appropriate. For damaged areas, replace compromised wood. For localized drywood activity, consider wood injections; for severe drywood infestations, fumigation with tenting may be necessary.
Negotiate repairs and treatments into the contract, require licensed applicators, and obtain a post-repair clearance letter before closing.
| Decision Point | Guidance |
|---|---|
| Active subterranean signs | Liquid barrier + sub-slab injection |
| Sensitive landscape | Baiting system with monitoring |
| Localized drywood | Wood injection; replace damaged members |
| Widespread drywood | Whole-structure fumigation, then repairs |
Post-Purchase Prevention and Ongoing Maintenance
Even once you’ve closed, termite prevention is an ongoing job that protects your investment and preserves resale value. Schedule professional inspections annually or biannually.
Pros check foundations, crawlspaces, attics, and wood members for mud tubes, frass, or hollowed timber—often before structural damage occurs. Prioritize moisture control: maintain gutters and downspouts, ventilate crawlspaces and basements, fix leaks, and use vapor barriers to keep humidity down.
Keep a 3-inch clearance between soil and wood, leave weep holes visible, use metal supports for timber, and clear mulch, beds, and debris away from the foundation.
Post-construction treatments can add protection. Trenching, rodding, and soil injection establish chemical barriers; vertical rodding around slabs improves coverage.
Plan re-treatments based on product longevity, and consider baiting systems for monitoring and control.
- Document every inspection, treatment, and repair for disclosures and resale.
- Monitor after heavy rains or irrigation changes; act fast on moisture issues.
- Educate everyone involved to stay vigilant.
Conclusion
You’ve got a lot riding on this purchase, and a termite inspection protects your money, timeline, and peace of mind. Understand lender rules, know who pays for what, and schedule the WDI inspection early. Use the report to negotiate treatment or repairs, and don’t skip it—hidden damage can haunt you. Close with confidence by addressing issues upfront, then prevent future infestations with regular maintenance. Do that, and you’ll protect your investment long after the keys change hands.