
Complete Guide to Termite Treatment Options (Diy Vs Professional)
Worried about termites? Start by spotting the species: subterranean (mud tubes), Formosan (aggressive nests), drywood (pellets), or dampwood (wet wood). DIY borates, foams, and oils can work for small, localized issues, but often miss colonies. Pros use non-repellent soil barriers, bait stations, heat, or fumigation, add monitoring, and back results with warranties. Expect DIY to cost $100–$300; professional treatments $1,200–$3,000 with multi-year protection. You’ll see timelines, chemicals, costs, and safety compared so you can choose confidently.
Key Takeaways
- DIY methods (boric acid, traps, natural oils) can slow activity but rarely eliminate established colonies; professionals target the source and verify eradication.
- Professional treatments include non-repellent liquid barriers, bait stations, heat, and fumigation for severe drywood infestations, plus follow-up inspections and warranties.
- Cost: DIY $100–$300 upfront; professional services $1,200–$3,000, often cheaper long-term due to higher success and prevention.
- Soil barriers (fipronil, imidacloprid) protect 5–10 years; bait stations need 4–12 week monitoring and may take months to eliminate colonies.
- Spot/localized treatments work for contained infestations; success requires finding every connected tunnel and may need retreatment over time.
Understanding Termite Species and Infestation Signs
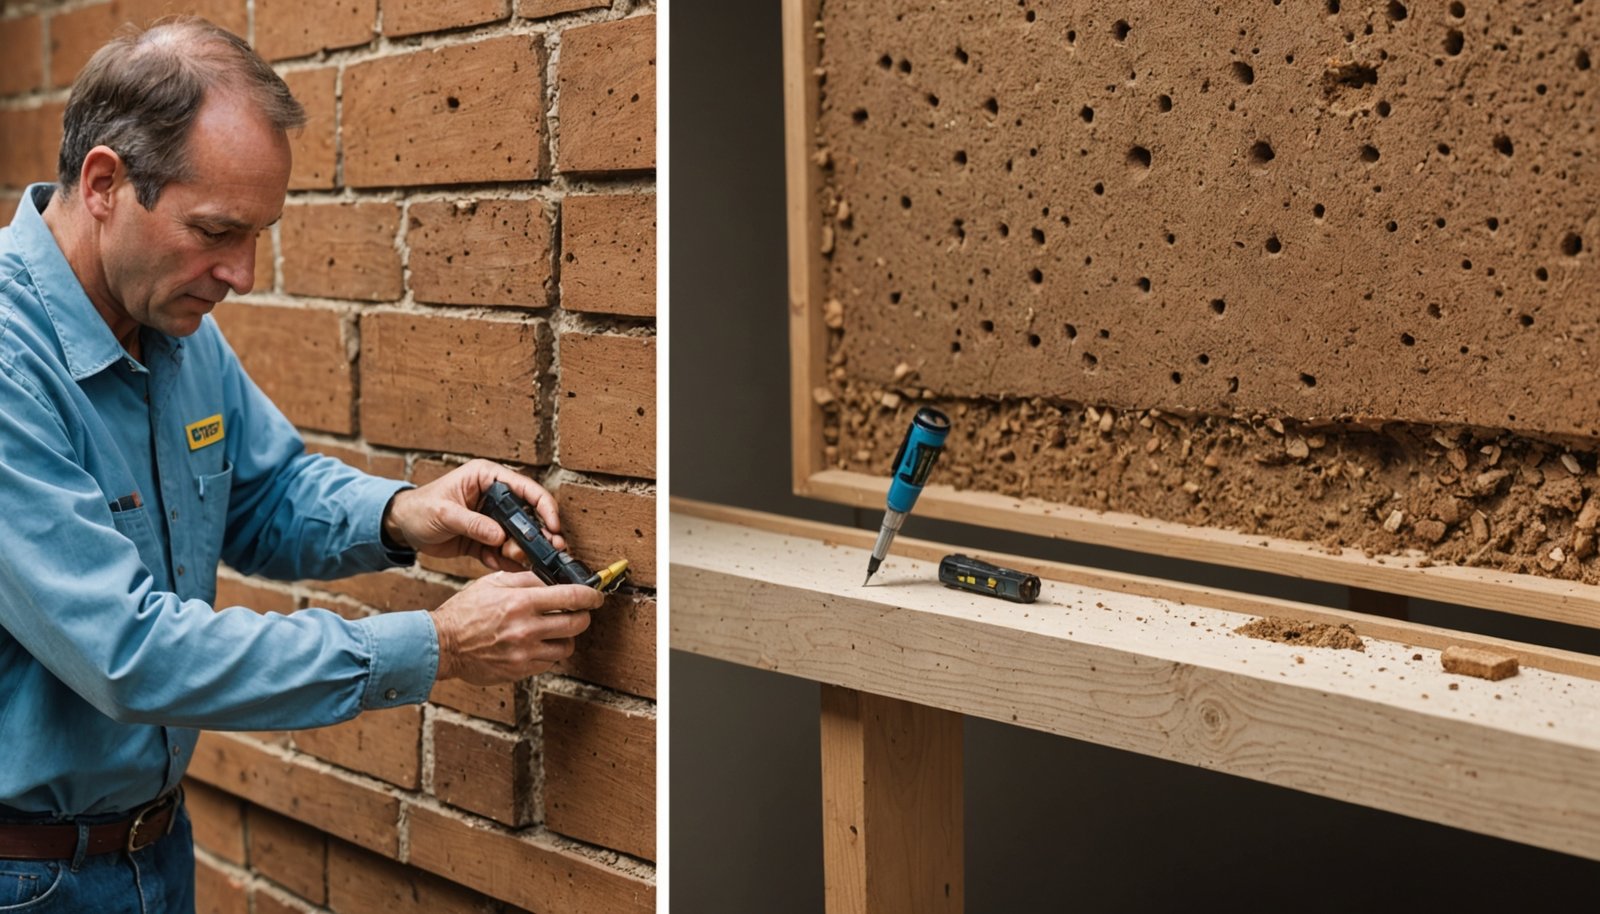
Curious which termites you’re dealing with and what clues they leave behind? Start by noting where activity occurs and what you see.
Subterranean termites, responsible for most U.S. damage, need soil moisture and build pencil-width mud tubes up foundations and walls. Their feeding follows the wood grain, leaving hollowed, paper-thin surfaces.
Formosan termites are a highly aggressive subterranean type; they form huge colonies and muddy carton nests inside walls.
Drywood termites live in dry wood—attic beams, roof materials, furniture—and don’t need soil contact. Look for tiny kickout holes and neat piles of hard, pellet-like frass; they chew both across and along the grain. Drywood termite tunnels are clean and end in kick holes with pellet accumulations, and swarmers’ wings show three heavy veins.
Dampwood termites, larger than others, target wet wood in Pacific coastal areas and southern Florida.
Confirm ID with anatomy: termites have straight antennae, thick waists, and equal-length wings. Drywood wings show three heavy veins; subterranean wings show two.
Soldiers have rectangular, darker heads with strong mandibles. Swarmers shed wings near windows in spring.
Comparing DIY and Professional Treatment Effectiveness
Although DIY termite fixes seem cheaper upfront, they rarely eliminate established colonies, while professional treatments reach and wipe out the source.
DIY options like boric acid or cardboard traps don’t penetrate every gallery; a few survivors can rebuild fast. Beneficial nematodes may help small, outdoor problems, but they’re unreliable indoors and need repeated applications. Misapplied DIY chemicals can contaminate soil or living spaces, raising long-term costs as hidden damage continues. It’s no surprise DIY holds only about 15% of the market. Professional services generally offer more effective solutions.
Professionals use stronger, targeted termiticides, specialized bait systems, heat treatments, and, for severe drywood cases, whole-structure fumigation.
Baits often eliminate colonies in 4–9 weeks, heat kills termites and eggs above 120°F, and fumigation clears entire structures. Pros pair treatments with monitoring and follow-up inspections, cutting recurrence rates. They also manage moisture and wood-to-soil contact for lasting results.
Trained applicators handle chemicals safely, reducing risks to people, pets, and the environment.
Soil Barrier Treatments: How They Work and Costs
You’ll see how soil barriers stop subterranean termites by creating a treated zone that blocks or eliminates foragers.
We’ll cover which non-repellent chemicals are used, how long they last, and what warranties you can expect. Additionally, many professionals apply liquid termiticides into the soil around foundations to create a chemical barrier.
You’ll also learn the key installation steps—trenching, drilling, and injection—and what typical pricing looks like.
How Barriers Stop Termites
When subterranean termites try to reach your home, soil barrier treatments cut off their path by creating a treated zone around the foundation. You or a pro apply termiticides to soil via trenching, rodding, or injection so termites can’t build mud tubes from soil to wood.
The chemicals bind to soil particles, forming a continuous zone that either repels or kills termites as they attempt to cross. Non-repellent formulations let termites pass through unknowingly and transfer toxicants to nestmates, extending control beyond the contact point. Professional applications often last about 5 years with regular inspections to maintain effectiveness.
You can also use baits—cellulose stations with slow-acting toxicants—placed around the property; for broad coverage, combine a liquid barrier with baiting.
Expect pricing per linear foot for perimeter trenching, with rodding or injection costing more due to equipment and labor.
Chemicals Used and Lifespan
Now that you know how barriers block termite access, the next decision is which chemicals build the most reliable shield and how long they last. Non-repellents like fipronil (e.g., Termidor 0.05%) shine because termites pass through, pick up the toxicant, and share it, collapsing colonies. Imidacloprid works similarly on the nervous system. Repellents (permethrin, chlorpyrifos) deter entry but can force detours, demanding precise, continuous coverage. Borates protect wood for the life of the timber but aren’t primary soil barriers. Professional services like HiCare use a Drill-Fill-Seal method with government-approved solutions and offer warranty-backed coverage for comprehensive protection.
| Chemical | Action Type | Typical Longevity |
|---|---|---|
| Fipronil | Non-repellent, transferable | Up to ~10 years |
| Imidacloprid | Non-repellent neurotoxin | ~5–8 years |
| Chlorpyrifos/Permethrin | Repellent/contact kill | ~3–7 years |
Soil moisture, pH, texture, heavy rain, and disturbance impact persistence. Expect professional barriers to run about $500–$2,000, with fipronil priced higher for longer warranties; DIY cycles cost roughly $50–$150. Periodic inspections help sustain protection.
Installation Steps and Pricing
Two core steps drive a proper soil barrier: trenching/exposure and precise chemical delivery.
You’ll dig a 300mm-wide trench to expose the foundation, mix termiticide per label, then apply roughly 4 gallons per 10 linear feet, pouring slowly for even coverage.
Spray the excavated soil before backfilling to keep treated soil in place. Where slabs block access, drill holes 2–3 inches from the foundation, about every 12 inches (up to 450mm spacing for certain products like Termidor HE), and inject to spec.
- 1) Critical details: use drill templates, keep holes within 150mm of the footing, and treat around posts, tanks, and AC units.
- 2) Seal terminations uniformly; apply a two-inch, 60‑mil barrier sealant.
- 3) Pricing drivers: labor (trenching/drilling), chemical volume, concrete drilling, equipment moves, and sealant materials.
Bait Stations: Timelines, Maintenance, and Pricing
Although bait stations work methodically rather than instantly, they offer a predictable path to eliminating colonies and keeping them from rebounding. Installation around a typical home finishes in a day. You’ll get the first activity check in 30–60 days.
Once termites start feeding, expect colony elimination in a few months up to a year. Warmer seasons speed things up to roughly 60–90 days; colder months stretch timelines to 90–180 days. Even after elimination, plan monitoring every 3–6 months.
Maintenance is essential. Inspect stations every 4–12 weeks to track activity and refresh bait. Keep covers flush with soil, clear debris, trim vegetation, and manage drainage to maintain access.
Add, move, or drill-in stations near concrete if activity pops up beyond original placements. Place stations 1–2 feet from the foundation, generally no more than 20 feet apart, with hotspots prioritized.
Pricing varies by property size, station count, and service plan. Professional systems (e.g., Trelona) cost more but include expertise; DIY kits cost less upfront but demand your time and frequent replenishment.
Localized Treatments: Borates, Foams, and Natural Oils
If your infestation is small and well mapped, you can use spot treatments to target active galleries without tenting.
You’ll rely on borates that soak into exposed wood and foams that expand into voids to reach hidden termites.
Natural oils can help with localized drywood issues, but they break down quickly and often need repeat applications.
When Spot Treatments Work
When you’re dealing with a small, well-defined drywood termite problem, spot treatments like borates, foams, and natural oils can work. They’re best for isolated colonies confined to accessible wood where you can target the entire gallery.
Think limited areas—under about 10 linear or square feet—such as a single window frame or trim piece. Success hinges on finding every connected tunnel; miss one gallery and termites rebound.
1) Choose spot treatments when:
- You’ve confirmed early, localized activity with clear entry points.
- Inspections show no multiple colonies or widespread spread.
- Access to galleries is good (not hidden deep in eaves, rafters, or crawlspaces).
2) Know the limits:
– Natural oils kill on contact only and may need reapplications.
3) Plan follow-ups:
– Schedule inspections and be ready to retreat.
Borate and Foam Basics
Two workhorses dominate localized termite control: borates and foams.
You use borates to penetrate wood fibers, disrupt termite digestion, and make wood unappealing. Products like Bora-Care have blocked tunneling for years—field studies show protection up to eight years. Apply pre-construction by dipping or spraying lumber, or post-construction via injections or surface treatments on vulnerable members. You also gain protection against wood decay fungi and some beetles. Borate-treated materials, such as TAP insulation, add an active barrier that kills pests on contact.
Foams—often with fipronil or borates—expand to fill galleries, cracks, and wall voids, then cling for residual control. They’re supplemental, ideal for spot infestations, and typically need retreatment every 2–4 years.
Borate-foam hybrids boost penetration and kill rates, strengthening hard-to-reach defenses and complementing soil or bait systems.
Natural Oil Limitations
Despite their eco-friendly appeal, essential oils like orange, cedarwood, neem, and wintergreen fall short as primary termite treatments. They volatilize quickly, so residues don’t last, and they must touch termites directly to work. That’s a problem for hidden galleries and large colonies.
Orange oil (d-limonene) can kill on contact and damage eggs, but it doesn’t penetrate wood or soil. Wintergreen oil plus heat can wipe out drywood termites locally, yet it won’t reach colony-wide infestations.
Lavender oil tests look strong on dipped samples, but it leaches unless stabilized.
Here’s what to remember:
- Expect repeated spot applications; oils rarely provide durable protection.
- Direct access is mandatory; oils don’t diffuse through walls or reach nests.
- Use oils only as part of an integrated plan—consider borates or professional termiticides for broader control.
Whole-Structure Fumigation: When It’s Necessary
Although localized spot treatments can solve small, isolated problems, whole-structure fumigation becomes necessary when drywood termites are widespread or hidden throughout the building. You’ll choose it when infestations affect multiple components, keep spreading, or resist previous treatments.
It’s also the go-to when whole-house heat isn’t feasible and spot methods—microwaves, freezing, electro-guns—can’t reach concealed galleries.
Fumigation encloses the entire structure in an airtight tent so sulfuryl fluoride gas can penetrate wood, cracks, wall voids, and subfloors. A warning agent, chloropicrin, is released first to alert anyone inside.
The fumigant remains 24–72 hours, depending on severity and size, then professionals aerate with fans and verify safe re-entry. The full process usually takes 36–72 hours.
Prepare by evacuating people, pets, plants, and aquariums; removing or sealing food and medicines; trimming vegetation; and temporarily removing items like antennas and chimney caps.
Uncover waterproof-encased bedding. After aeration, the non-residual gas dissipates completely.
Chemical Termiticides: Types, Repellency, and Safety
Next, you’ll sort chemical termiticides by class—repellent pyrethroids versus non-repellents like fipronil and borates—and understand what each does.
You’ll see how repellency can block entry but create bypass gaps, while non-repellents spread toxin through the colony for broader control.
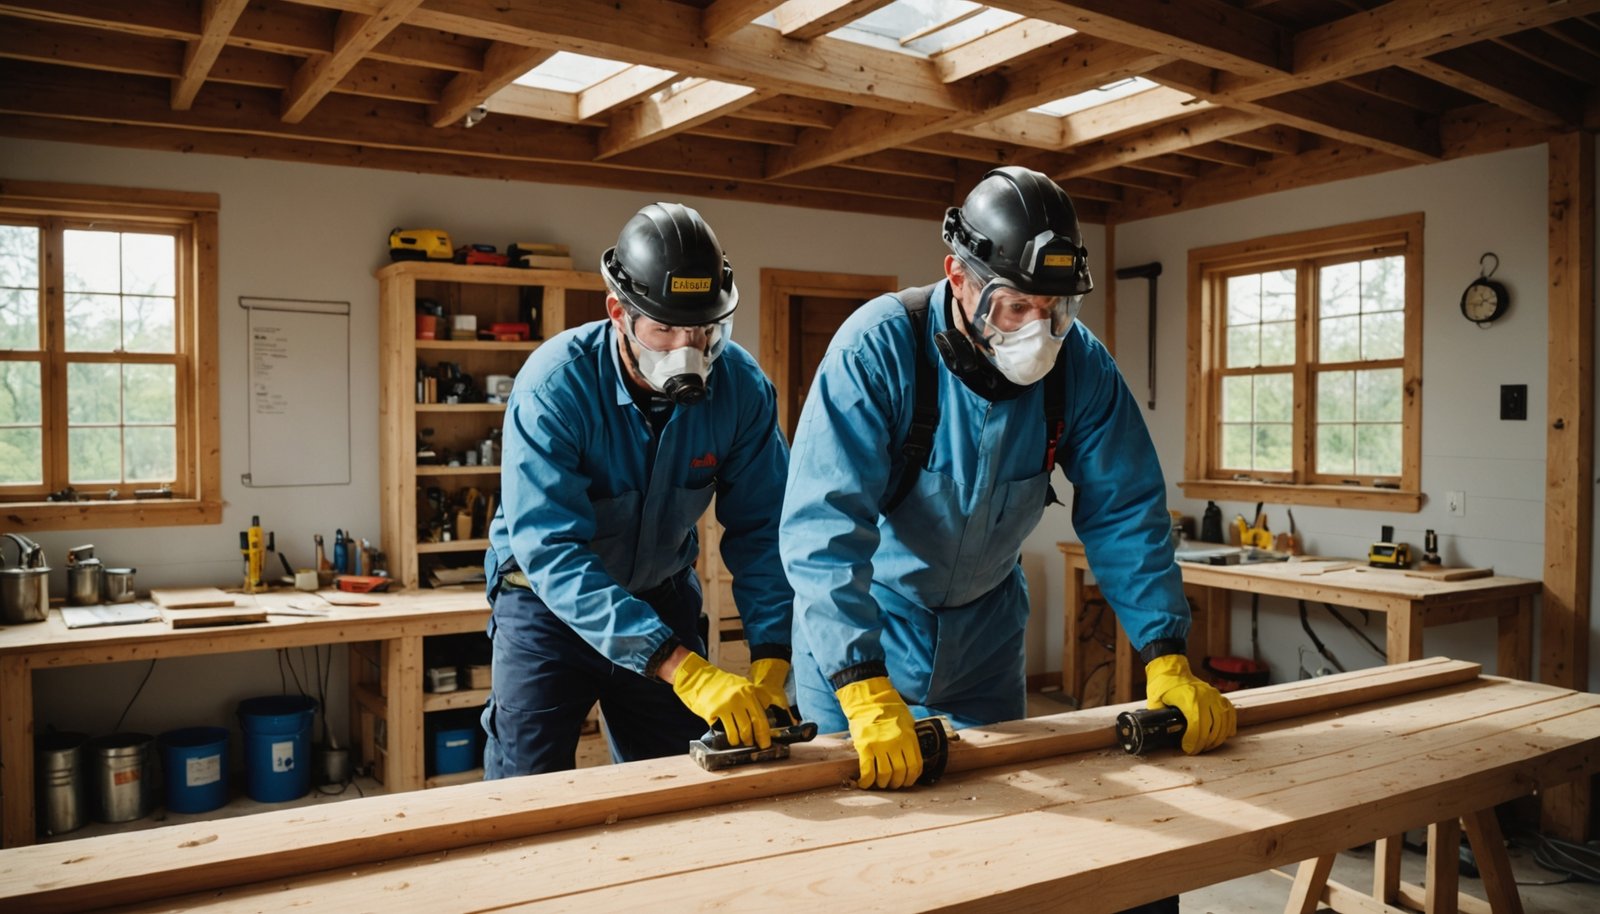
You’ll also weigh safety: check toxicity, follow labels, use PPE, and consider licensed pros for soil barriers.
Termiticide Classes Explained
When you compare chemical termiticides by how termites perceive and react to them, three main classes emerge: fast-acting repellents (Type I pyrethroids and natural pyrethrins), quicker‑kill but less‑repellent organophosphates/carbamates (Type II), and slow‑acting, non‑repellent chemistries (Type III) that spread through colonies.
You’ll also see borates for wood and structural treatments.
1) Type I (permethrin, fenvalerate, resmethrin, pyrethrins): You get rapid knockdown and strong avoidance. They’re common in EC, WP, granule, and aerosol forms, but mortality can be limited because termites don’t linger in treated soil.
2) Type II (diazinon, chlorpyrifos, carbaryl): Less repellent, faster kills; termites may enter treated zones before dying, leaving blocked galleries.
3) Type III (fipronil, imidacloprid): Non‑repellent, delayed action spreads via trophallaxis, aiding colony-level impact from about 24 hours to months.
Borates: Applied to wood; slow-acting ingestion/contact poisons with durable protection.
Repellency and Safety
Because termites either sense and avoid chemicals or move through them unnoticed, repellency is the lens that shapes both performance and safety.
Repellent termiticides—typically pyrethroids like bifenthrin, fenvalerate, permethrin, resmethrin, and pyrethrins—create detectable treated zones. They act fast and block entry, but termites may detour or exploit gaps, so prevention is their strong suit, not colony elimination.
Non-repellents like fipronil stay undetected. Termites travel through, pick up the active ingredient, and spread it, enabling broader, longer control.
Some modern products blend both traits. Type I/II act quickly and repel; Type III acts slower with less repellency, fitting remedial or bait strategies.
Prioritize safety: pyrethroids range medium–high in human toxicity; follow labels. Fipronil lasts long but needs professional handling.
Borates offer low mammalian toxicity for wood. Avoid highly toxic arsenicals.
DIY Treatment Options: Pros, Cons, and Best Uses
Thinking about tackling termites yourself? DIY kits cost about $100–$300 versus $1,200–$3,000 for pro work, so the upfront savings are real.
But DIY often misses hidden colonies, and incorrect application can waste money and allow damage to escalate. It’s best for minor, localized activity or short-term control—don’t expect it to clear a severe problem.
Common options:
- Liquid termiticides for soil or spot treatments (effectiveness varies and degrades).
- Bait stations (e.g., Trelona ATBS) for low-disruption monitoring and control.
- Direct wood treatments, foams, and dusts for targeted areas; sprays offer only temporary relief.
Pros:
– Lower cost, quick availability, variety to match sensitivities.
Cons:
– Incomplete eradication, safety risks, and limited tools and monitoring.
Use DIY when:
1) You’ve confirmed small, early-stage activity in accessible areas.
2) You’re adding preventive measures—reduce moisture, fix leaks, separate wood from soil.
3) You’re monitoring with bait stations before deciding on broader action.
Professional Services: Advantages, Process, and Warranties
Even if DIY can buy you time, professional termite services deliver accuracy, stronger tools, and lasting protection. Certified technicians inspect interiors, exteriors, crawl spaces, attics, and basements with moisture meters and infrared cameras to spot hidden activity and conducive conditions.
Based on findings, they tailor a plan to your termite type, structure, and sensitivities. Pros tackle infestations with non-repellent liquid barriers, discreet baiting systems like Sentricon, and wood preservative treatments such as Boracare.
Precise trenching, soil injection, and strategic drilling create continuous protection under slabs and along foundations. Non-repellents transfer within colonies; bait systems use slow-acting growth regulators to disrupt life cycles with minimal exposure.
After treatment, you’ll get scheduled monitoring, bait replacements, and reapplications if needed. Most companies back work with warranties and service agreements that keep pressure on termites through ongoing inspections.
Look for GreenPro, Green Shield, or QualityPro providers who follow IPM standards and prioritize safety for people, pets, and non-target organisms.
Costs, Longevity, and Environmental Considerations
While DIY kits look cheaper upfront, the true cost of termite control hinges on severity, longevity, and oversight. You’ll spend about $100–$300 for basic DIY kits or bait stations, which can handle small, early infestations.
Professional treatments average $700–$2,000, and severe cases—especially drywood or Formosan termites—can hit $2,000–$5,000+ for fumigation or heat. Annual termite bonds or monitoring add $300–$550. If DIY misses hidden activity, you risk structural damage and expensive remediation.
1) Longevity and effectiveness: Professionals deploy liquid termiticides that form multi‑year barriers, provide monitoring, and offer warranties.
DIY options tend to be temporary and degrade faster without precise application. Pro systems with bait stations verify eradication.
2) Environmental considerations: DIY products are less potent, potentially lowering impact but also performance.
Pros use stronger termiticides with certified handling, containment, and proper disposal. Fumigation requires evacuation and ventilation.
3) Bottom line: DIY savings can vanish with repeat treatments or eventual professional intervention.
Conclusion
You’ve now got a clear roadmap to tackle termites—identifying species, weighing DIY vs. pro solutions, and understanding barriers, baits, and localized treatments. Match the method to your infestation size, budget, and tolerance for maintenance. For small, accessible issues, DIY can work; for widespread or hidden colonies, hire a pro with a solid warranty. Prioritize safety, read labels, and consider environmental impact. Act quickly, monitor regularly, and you’ll protect your home—and your wallet—over the long term.