How to Prevent Termites During Home Renovation
{
“@context”: “https://schema.org”,
“@type”: “FAQPage”,
“mainEntity”: [
{
“@type”: “Question”,
“name”: “Can I renovate my home if an active termite infestation is present?”,
“acceptedAnswer”: {
“@type”: “Answer”,
“text”: “No. Stop construction immediately, contact a licensed pest control company, and wait until a professional inspection confirms the infestation is controlled before resuming any renovation work. Proceeding with demolition or framing over an active infestation spreads the colony, increases treatment complexity, and risks enclosing active termite damage inside new construction.”
}
},
{
“@type”: “Question”,
“name”: “How much does professional termite prevention treatment typically cost?”,
“acceptedAnswer”: {
“@type”: “Answer”,
“text”: “Professional termite prevention treatment typically costs $263 to $1,033, with most homeowners spending around $621. Costs vary based on your home’s size, location, infestation severity, and treatment type. Chemical soil barriers, borate pretreatments, and bait station programs have different price points and coverage durations, so getting multiple quotes from licensed pest control companies helps identify the best solution for your renovation project.”
}
},
{
“@type”: “Question”,
“name”: “Are certain regions more vulnerable to termite problems during renovation?”,
“acceptedAnswer”: {
“@type”: “Answer”,
“text”: “Yes. Homeowners in the Southeast, Gulf Coast, Hawaii, and coastal California face the highest risk, where warm temperatures, high humidity, and moist soil create ideal conditions for subterranean termite species. These regions require more intensive prevention measures during renovation, including pre-construction soil treatments, physical barriers, and more frequent inspections throughout the project.”
}
},
{
“@type”: “Question”,
“name”: “Does homeowners insurance cover termite damage discovered during renovation?”,
“acceptedAnswer”: {
“@type”: “Answer”,
“text”: “Standard homeowners insurance policies do not cover termite damage or treatment costs, classifying both as preventable maintenance issues rather than sudden, accidental losses. Unless termites directly caused a covered peril such as fire, repair costs are typically out-of-pocket. A termite clearance letter before purchase or renovation can document the baseline condition of your property and support any warranty claims from a pest control service contract.”
}
},
{
“@type”: “Question”,
“name”: “How long does termite pretreatment protection last before reapplication is needed?”,
“acceptedAnswer”: {
“@type”: “Answer”,
“text”: “Liquid termiticide soil barriers typically last 5 to 10 years. Borate wood treatments last indefinitely as long as the treated wood remains dry. Bait station programs require ongoing monitoring and bait replenishment rather than a single timed reapplication. Soil disturbance from digging, tilling, or significant landscaping changes near the foundation can compromise a chemical barrier and may require spot reapplication before the standard interval.”
}
},
{
“@type”: “Question”,
“name”: “How do termites enter a house during renovation?”,
“acceptedAnswer”: {
“@type”: “Answer”,
“text”: “During renovation, termites most commonly enter through disturbed soil that breaches existing chemical barriers, new wood-to-soil contact points created by construction activity, unsealed foundation gaps opened during demolition, scrap lumber and wood debris left on site, and plumbing or wiring penetrations that are not immediately sealed. Renovation disrupts the physical and chemical barriers that protect a structure, making vigilant monitoring and staged treatment especially important throughout the project.”
}
}
]
}
Preventing termites during a home renovation requires action at every stage of the project. Start with a professional inspection before demolition begins, clear wood debris from the site, control moisture around the foundation, use termite-resistant materials where possible, and seal every gap termites could use as an entry point. Renovation disrupts the physical and chemical barriers that normally protect a structure, making it one of the highest-risk periods for a new termite infestation to establish.
This guide covers every prevention step from pre-demolition through post-construction, including which materials resist termite damage, how chemical soil treatments and physical barriers work, ventilation requirements, and how to build ongoing monitoring into your renovation plan.
Key Takeaways
- Schedule a termite inspection before renovation begins to detect existing infestations and vulnerabilities in the foundation, attic, and wood components.
- Fix leaks, improve drainage, and keep crawl spaces dry to eliminate the moisture conditions that attract termites.
- Remove wood debris, stumps, and scrap lumber from the property to eliminate potential termite food sources near your home.
- Use termite-resistant materials like concrete, steel, pressure-treated lumber, and naturally resistant wood species such as redwood and cypress.
- Seal foundation gaps, plumbing penetrations, and structural joints to block termite entry points and reduce moisture intrusion.
- Apply chemical soil treatments and physical barriers at the foundation level before slabs are poured or backfilling begins.
Start With a Termite Inspection Before Demolition Begins
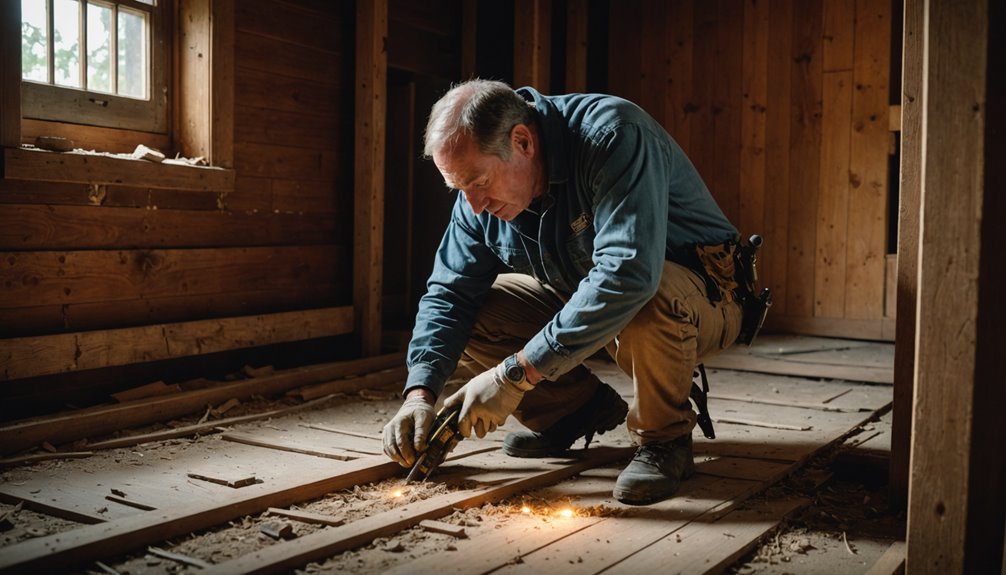
If you are planning a renovation, schedule a termite inspection before any demolition or construction work begins. A licensed inspector will assess your home visually, checking for active infestations, past activity, and conditions that make your structure vulnerable. They will examine your foundation, garage, attic, crawl space, basement, and any wood components or moisture-prone areas where termites commonly enter.
Most termite activity hides behind walls or beneath floors, so visible damage rarely tells the full story. Once demolition starts, disturbing an active colony makes the infestation harder to manage, can spread pests into adjacent areas, and leads to added treatment costs and construction rework. Discovering a problem mid-renovation creates delays that an early inspection could have prevented entirely.
After the inspection, you will receive a written report outlining findings and recommended next steps. That information helps you determine whether treatment, structural repairs, or both are needed before construction moves forward. Termites cause over $5 billion in property damage across the United States every year, making early detection one of the most cost-effective steps you can take before renovation work begins. If you are renovating as part of a property purchase, a termite clearance letter documents the current condition of the structure and may be required by your lender.
Clear Wood Debris That Attracts Termites Before Work Starts
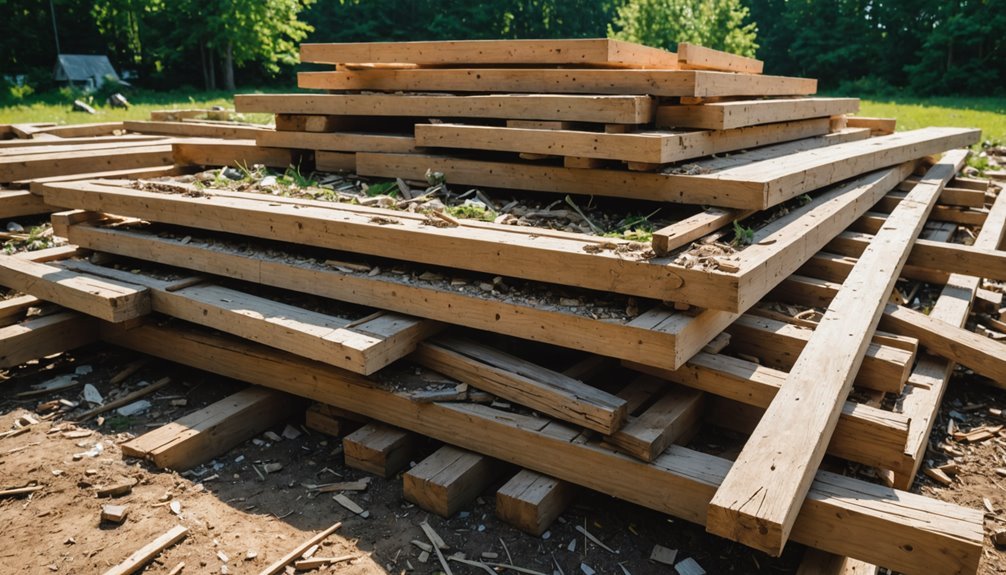
Before demolition starts, walk the entire property and remove stumps, fallen logs, and any scrap lumber sitting near or beneath the structure. Clear the foundation perimeter of wood debris, firewood piles, and cellulose materials like cardboard boxes or stacked newspapers that give termites a ready food source. Wood-to-soil contact and debris left in crawl spaces are among the most common conditions that draw termites in, so eliminating them before work begins cuts off their access before construction creates new entry points.
Remove Stumps and Logs
Old stumps and logs left on your property give termites a direct food source and a place for colonies to nest. Decaying wood bridges the gap between a yard infestation and your home’s wood framing, especially once construction disturbs the site and removes the soil barriers that separate them.
Complete stump removal is your most effective option. Hire a professional arborist to grind the stump down rather than leaving it to decay in the ground. If you spot frass, hollow wood, discarded wings, or tunneling near a stump, remove it immediately to stop the spread. After removal, control moisture around the cleared area, since poor drainage keeps soil damp and attractive to new termite colonies.
Clear Lumber and Scrap Throughout the Project
Scrap lumber and wood debris left around a renovation site give termites an easy food source before your walls even go up. Remove offcuts, bracing pieces, and leftover boards regularly throughout the project rather than waiting until the end.
- Pull form boards and stakes once concrete cures and dispose of them off site.
- Never bury scrap wood or cellulose debris in fill dirt beneath slabs or foundations.
- Clear all wood waste from crawl spaces and subfloor areas before closure.
- Store lumber on supports, keeping it 6 to 8 inches above soil at all times.
- Remove wood-based packing materials, broken boards, and cutoffs immediately after they are generated.
Trapping cellulose under finished surfaces creates hidden termite access points that are nearly impossible to inspect later. Brief any contractor or subcontractor working on your project about these requirements before work begins so that site debris management is consistent throughout every construction phase.
Clean Foundation Perimeter Areas
Inspect around crawl-space openings, foundation walls, and access points before work begins. Remove buried wood fragments, old form boards, and any construction waste already present near the foundation.
| Area | What to Remove | Why It Matters |
|---|---|---|
| Crawl-space openings | Wood scraps, cardboard, organic debris | Direct termite entry points to floor framing |
| Foundation walls | Buried roots, old form boards | Hidden food and travel routes into the structure |
| Backfill zones | Wood fragments, plant material, stumps | Cellulose in fill soil feeds subterranean colonies |
Use clean fill free of vegetation and organic debris when backfilling. Replace wood mulch within two feet of the foundation with crushed rock, pea gravel, or concrete pavers. Keep siding a minimum of 6 inches from soil, with 8 to 12 inches preferred, to reduce the risk of termites using it as a direct bridge from ground to structure.
Chemical Soil Treatments and Physical Barriers

Chemical soil treatments and physical barriers are the most effective tools for blocking subterranean termite access to a renovated structure. Both are best applied during construction when the soil and foundation interfaces are exposed, making this one of the most time-sensitive prevention steps in any renovation project.
Liquid Termiticide Soil Treatments
Liquid termiticides create a continuous chemical barrier in the soil around and beneath a structure that kills or repels subterranean termites attempting to travel from underground nests to wood. Repellent termiticides such as bifenthrin drive termites away from treated zones. Non-repellent termiticides such as fipronil and imidacloprid allow termites to pass through the treated soil, pick up a lethal dose, and transfer it back to the colony before dying, which eliminates the colony rather than just redirecting it.
Termiticide soil treatments are applied at the foundation perimeter and beneath slabs before the concrete is poured. For renovations that involve new additions, slab expansions, or foundation work, applying the chemical barrier before backfilling and before the slab is poured is far more effective than drilling through finished concrete afterward. Your pest control contractor will calculate the appropriate volume of termiticide based on soil type, perimeter length, and local building codes. Many states have specific requirements for pre-construction soil treatment that your contractor must meet.
When to Apply Chemical Soil Treatment During Renovation
- Before backfilling around any new foundation work
- Beneath any new slab pours, including additions, garages, and patios attached to the main structure
- Around any new pipes or conduit penetrations through the foundation
- In any crawl space soil exposed during renovation before subfloor closure
Physical Termite Barriers
Physical barriers block termite access mechanically rather than chemically. Metal termite shields installed at the foundation-to-sill interface force subterranean termites to travel around the shield into an exposed, inspectable location rather than through it directly. Shields must extend at least 2 inches horizontally and 2 inches downward at a 45-degree angle with no seams or gaps that termites could exploit.
Stainless steel mesh barriers installed beneath slabs and around plumbing penetrations create a permanent physical obstruction that termites cannot chew through. These products are particularly effective in crawl spaces and under concrete slabs where chemical retreatment would be difficult after construction is complete. Combining physical barriers with chemical soil treatments provides layered protection that is more resilient than either method alone.
Bait Station Programs
Bait station programs use monitoring stations installed in the soil around the property perimeter that attract foraging termites and deliver a slow-acting bait that worker termites carry back to the colony. Unlike liquid barriers, bait systems do not prevent termites from reaching the structure entirely but instead reduce and eliminate colonies before they cause damage. They are less disruptive to install during renovation than liquid soil treatments and can be placed without coordinating with concrete pours or backfilling schedules. However, bait programs require ongoing monitoring visits from a pest control professional every one to three months to check station activity and replenish bait as needed.
Control Moisture and Drainage to Reduce Termite Risk
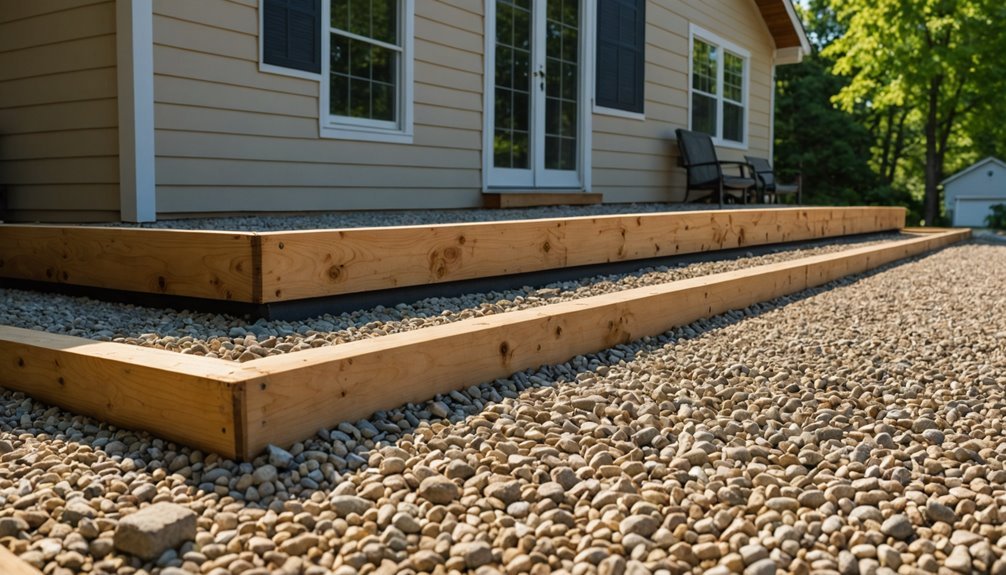
Moisture is the single biggest environmental factor that attracts termites to a structure. Leaks, poor drainage, and damp crawl spaces all create conditions where termites thrive and colonies grow rapidly. Addressing moisture issues during renovation, when plumbing, walls, and foundations are already open for work, is far easier and less expensive than addressing them after finishes are in place.
- Fix leaks promptly: Check under sinks, near washing machines, behind walls, and in crawl spaces for plumbing leaks or condensation.
- Improve grading: Slope soil away from your foundation so surface water drains outward instead of pooling near the structure.
- Maintain gutters and downspouts: Keep them clear of debris and direct rainwater well away from the foundation. Downspouts should discharge at least 4 feet from the house.
- Dry out crawl spaces: Use vents, dehumidifiers, or polyethylene vapor barriers to keep humidity between 30 and 50 percent. Poor crawl space ventilation is one of the most common moisture problems linked to subterranean termite infestations.
- Seal foundation gaps: Use cement, grout, or caulk to block water entry points around utilities, pipes, doors, and windows before finishes go on.
Inadequate ventilation in crawl spaces and attics is a frequently overlooked moisture driver. Renovation work that closes off existing vents or adds square footage without corresponding ventilation increases humidity in enclosed spaces. Make sure any structural additions include properly sized vents and that crawl space access panels are intact and sealed against moisture infiltration. Keeping attic spaces ventilated also matters, as moisture from the living area that rises into the attic can create conditions that attract drywood termites to roof framing. Our guide on how to keep termites out of your attic covers ventilation and structural protection steps specific to roof spaces.
Keep Wood Off the Ground to Block Termite Entry
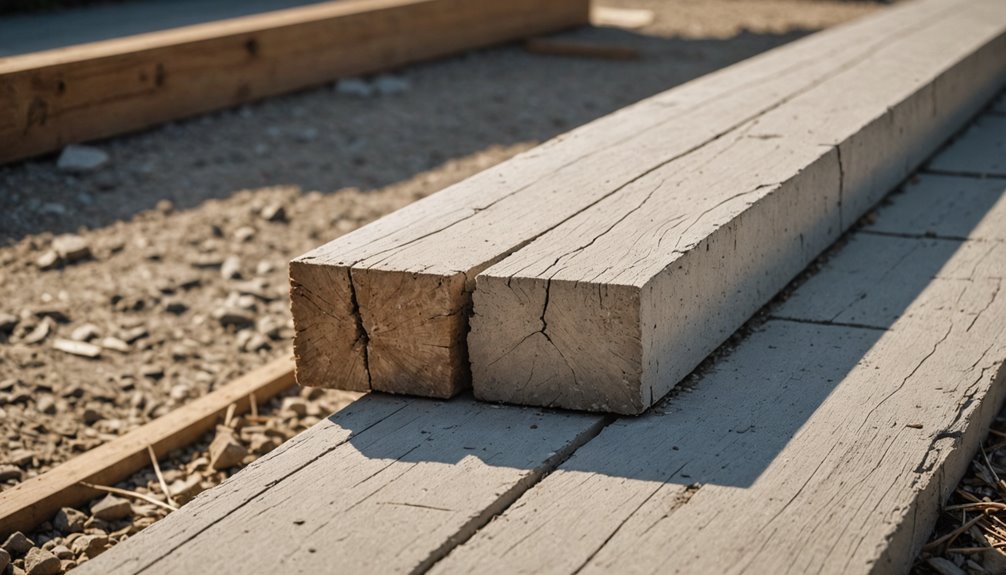
Wood stored directly on the ground gives subterranean termites a ready highway from the soil into your renovation materials and ultimately into your home. Use racks, pallets, concrete blocks, or metal supports to keep lumber, firewood, and offcuts above bare soil or mulch. Even a few inches of clearance breaks the direct contact termites need to move from the ground into your material stack.
Distance matters as much as elevation. Keep firewood at least several feet from your foundation, and larger storage piles 20 to 30 feet away. Wood touching an exterior wall creates a direct bridge from soil to structure. Rotate your lumber stock regularly and use older material first, since wood that has been stored for long periods carries a higher risk of harboring early-stage infestations that could then spread to your renovation work. Raised storage also makes inspections easier, allowing you to spot early warning signs before they become a serious infestation problem.
Choose Termite-Resistant Materials for Vulnerable Areas
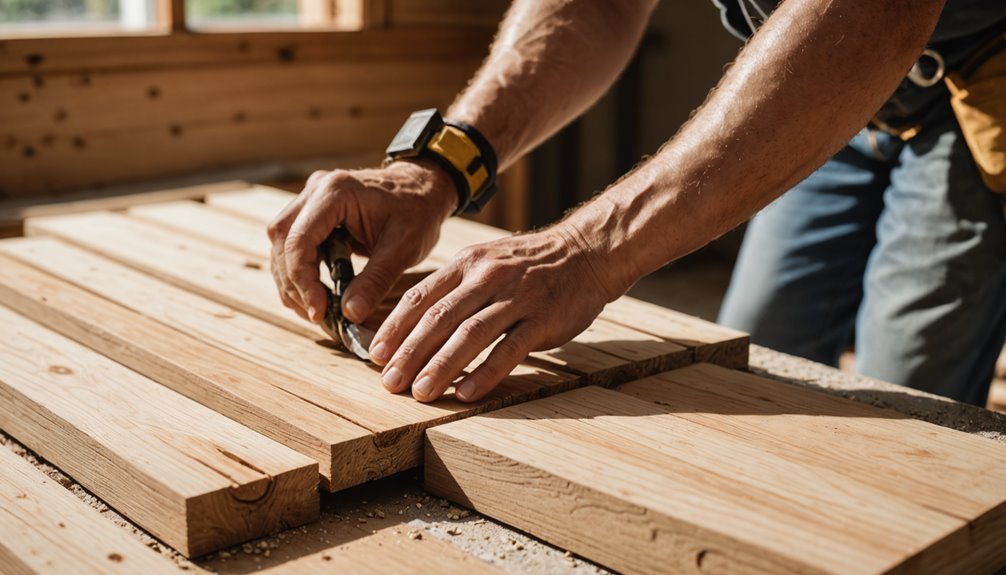
Selecting the right materials for termite-prone zones is one of the most effective long-term defenses you can build into a renovation. When replacing vulnerable components, choose materials that give termites nothing to consume or that have been treated to resist infestation.
Non-Wood and Naturally Resistant Materials
Non-wood materials including concrete, steel, brick, and insulated concrete forms contain little or no organic cellulose that termites can target. Where these materials are used for structural framing or foundation elements, they eliminate the termite food source entirely in those components. Naturally resistant wood species such as redwood, western red cedar, black locust, and cypress contain oils and resins that make them significantly less attractive to termites than standard lumber, though they are not immune and still benefit from additional protection in high-risk areas.
Pressure-Treated and Borate-Treated Lumber
Pressure-treated lumber uses preservative chemicals forced deep into the wood fibers under pressure, creating a barrier throughout the wood rather than just on the surface. Modern pressure-treated lumber uses alkaline copper quaternary (ACQ) or copper azole (CA) treatments that are highly effective against both subterranean and drywood termites and remain active for decades when the wood stays structurally intact. Use pressure-treated lumber for all sill plates, floor joists, decking, and any framing within 6 inches of the ground.
Borate-treated lumber provides similar protection using disodium octaborate tetrahydrate, which penetrates the wood and kills termites and fungi on contact. Borate treatments are especially well suited for interior framing and structural members where ground contact is indirect. Borate products can also be applied as a spray or liquid to existing untreated lumber during renovation as a cost-effective preventive treatment before walls are closed.
Recommended Materials by Risk Zone
| Location | Recommended Material | Why It Works |
|---|---|---|
| Sill plates and rim joists | Pressure-treated lumber | Direct foundation contact zone |
| Exterior sheathing and siding | Fiber cement, aluminum, steel | No cellulose for termites to consume |
| Interior framing | Borate-treated lumber | Kills on contact, residual protection |
| Subgrade insulation | Rigid foam with parging or vapor barrier | Prevents foam from serving as termite shelter |
Seal Every Gap Termites Could Use as an Entry Point
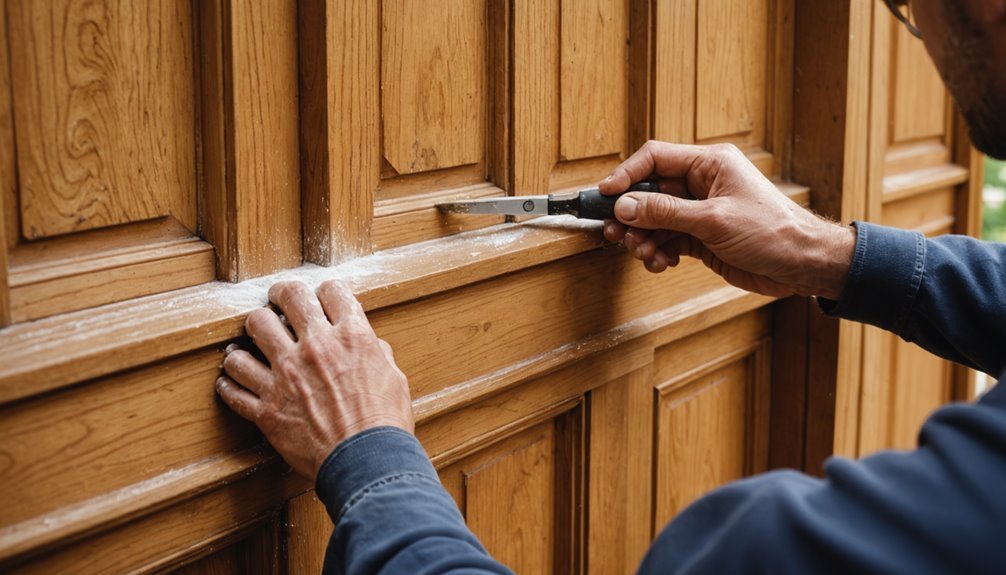
Even with termite-resistant materials and chemical soil treatments in place, unsealed gaps and penetrations remain the most exploitable vulnerabilities in any structure. Termites exploit every unsealed crack, construction joint, and utility penetration, and renovation creates more of these openings than any other activity. Treat each one as a priority before finishes conceal them permanently.
Start with pipe and conduit penetrations. Install termite-proof collars around any plumbing or wiring that passes through slabs, walls, or floors, then caulk the surrounding area fully. These small openings are among the most frequently overlooked termite entry routes. Next, seal foundation-to-structure interfaces using metal termite shields with no seam gaps, extending at least 2 inches out and 2 inches down at a 45-degree angle. Close any gaps between piers, beams, and sill plates. Finally, caulk every crack, construction seam, and joint around tubs, windows, and connections between old and new renovation work. Sealing these gaps simultaneously blocks termite entry and reduces moisture intrusion, eliminating two infestation risk factors at once.
Be aware that some of the chemicals used to treat termites can pose health risks if proper precautions are not taken during and after application. Understanding how termite treatments affect human health helps you make informed decisions about which products to use and what safety measures to follow during your renovation.
Schedule Termite Inspections Before, During, and After Renovation

Before you tear out a single wall or pull up any flooring, schedule a professional termite inspection so you know exactly what you are dealing with before new materials go in. During the renovation, keep checking exposed framing, stored lumber, and disturbed soil for mud tubes, hollow wood, or other warning signs while everything is still accessible. Once the work wraps up, a final inspection confirms that no new activity took hold during construction and that your prevention controls held.
Pre-Renovation Inspection Benefits
Scheduling an inspection before renovation gives you a clear baseline view of your home’s condition while walls, flooring, and finishes are open for examination. Early detection lets you treat existing infestations before new materials cover hidden damage and allows you to address drainage and moisture conditions that make your home more vulnerable long-term. A pre-renovation inspection helps you identify mud tubes, discarded wings, and hollow-sounding wood; active colonies inside structural cavities; whether spot treatment, soil barriers, or fumigation is needed; and which material upgrades will reduce future exposure.
Monitoring During Active Construction
Once renovation work begins, termite monitoring should be tied to key construction milestones to keep coverage consistent throughout the project.
| Construction Stage | What to Inspect | Why It Matters |
|---|---|---|
| Demolition | Mud tubes, hollow wood, feeding damage | Hidden activity becomes newly visible |
| Framing | Sill plates, joists, exposed studs and beams | Fresh damage is easiest to identify |
| Pre-Drywall | Plumbing penetrations, foundation lines | Walls closing permanently limits future access |
If swarm evidence or new termite damage appears at any point, schedule an additional professional inspection immediately. Also watch material staging areas throughout the project, since stored lumber and wood debris attract termites quickly and an on-site infestation can spread to the structure within weeks.
Post-Renovation Follow-Up Checks
Schedule a final termite inspection once construction wraps up to confirm nothing moved in during the project. Your post-renovation inspection should cover new lumber and repaired structural components for hidden activity, foundation edges and accessible framing where termites often enter unnoticed, verification of prior treatment effectiveness if termites were addressed before remodeling, and documentation of current activity and future inspection frequency. In moderate-risk areas, annual inspections are standard. In high-risk zones such as the Southeast or Gulf Coast, every 6 to 12 months is more appropriate. Do not assume clean cosmetic results mean your home is termite-free. Get the inspection confirmed in writing before closing out your project.
Frequently Asked Questions
Can I renovate if an active termite infestation is present?
No. Stop construction immediately, contact a licensed pest control company, and wait until a professional inspection confirms the infestation is fully controlled before resuming work. Proceeding over an active colony spreads pests into new areas and increases treatment complexity and cost.
How much does professional termite prevention treatment cost?
Professional termite prevention treatment typically costs $263 to $1,033, with most homeowners spending around $621. Costs vary based on home size, location, infestation severity, and treatment type. Get multiple quotes from licensed pest control companies to compare coverage, warranty terms, and pricing.
Are certain regions more vulnerable to termite problems during renovation?
Yes. Homeowners in the Southeast, Gulf Coast, Hawaii, and coastal California face the highest risk due to warm temperatures, high humidity, and moist soil. These regions require more intensive prevention measures and more frequent monitoring throughout renovation projects.
Does homeowners insurance cover termite damage found during renovation?
Standard homeowners insurance does not cover termite damage or treatment costs, classifying both as preventable maintenance. Repair costs are typically out-of-pocket. A pest control service contract with a repair warranty provides the closest available coverage against future infestation damage.
How long does termite pretreatment protection last?
Liquid termiticide soil barriers typically last 5 to 10 years. Borate wood treatments last indefinitely if the wood stays dry. Bait station programs require ongoing monitoring rather than a timed reapplication. Soil disturbance near the foundation from landscaping or construction may compromise a barrier earlier and require spot retreatment.
How do termites enter a house during renovation?
Termites most commonly enter through disturbed soil that breaches existing chemical barriers, new wood-to-soil contact created by construction, unsealed foundation gaps opened during demolition, on-site scrap lumber and debris, and unsealed plumbing or wiring penetrations. Vigilant monitoring and staged treatment at each construction phase addresses all of these risk points.